


5 mins read
|
07-30-2026
How to Create Controller in Magento 2
Vinh Jacker | 03-17-2025

Controller specially is one of the important thing in Module development series, and PHP MVC Framework in general. It functionarity is that received request, process and render page.
In Magento 2 Controller has one or more files in Controller folder of module, it includes actions of class which contain execute() method. There are 2 different controllers, they are frontend controller and backend controller. They are generally similar of workflow, but admin controller is a little different. There is a checking permission method in admin controller, it calls form key.
How controller work?
It receive an request from end-user (browser or comamnd line), for example:
http://example.com/route_name/controller/action
route_nameis a unique name which is set in routes.xml.controlleris the folder inside Controller folder.actionis a class with execute method to process request.
One of the important in Magento system is frontController (Magento\Framework\App\FrontController), it alway receives request then route controller, action by route_name
Let’s take an example of routing an request:
foreach ($this->_routerList as $router) {
   try {
      $actionInstance = $router->match($request);
   …
}
If there is an action of controller class found, execute() method will be run.
How to create a controller in Magento 2?
To create a controller, we need to create a folder inside Controller folder of module and declare an action class inside it. For example, we create a index controller and a index action for module Mageplaza_HelloWorld:
Step 1: Create routes.xml file.
File: app/code/Mageplaza/HelloWorld/etc/frontend/routes.xml
<?xml version="1.0" ?>
<config xmlns:xsi="http://www.w3.org/2001/XMLSchema-instance" xsi:noNamespaceSchemaLocation="urn:magento:framework:App/etc/routes.xsd">
    <router id="standard">
        <route frontName="helloworld" id="helloworld">
            <module name="Mageplaza_HelloWorld"/>
        </route>
    </router>
</config>
In the previous How to Create Module in Magento 2 , we created file routes.xml. If you created it, you can ignore this step.
Step 2: Create controller file
File: app/code/Mageplaza/HelloWorld/Controller/Index/Index.php
<?php
namespace Mageplaza\HelloWorld\Controller\Index;

class Index extends \Magento\Framework\App\Action\Action
{
	protected $_pageFactory;

	public function __construct(
		\Magento\Framework\App\Action\Context $context,
		\Magento\Framework\View\Result\PageFactory $pageFactory)
	{
		$this->_pageFactory = $pageFactory;
		return parent::__construct($context);
	}

	public function execute()
	{
		return $this->_pageFactory->create();
	}
}
As you see, all controllers must be extended \Magento\Framework\App\Action\Action class which has dispatch method which will call execute() method in action class. In this execute() method, we will write all of our controller logic and will return response for the request.
Step 3: Create Layout file
File: app/code/Mageplaza/HelloWorld/view/frontend/layout/helloworld_index_index.xml
<?xml version="1.0"?>
<page xmlns:xsi="http://www.w3.org/2001/XMLSchema-instance" layout="1column" xsi:noNamespaceSchemaLocation="urn:magento:framework:View/Layout/etc/page_configuration.xsd">
    <referenceContainer name="content">
        <block class="Mageplaza\HelloWorld\Block\Index" name="helloworld_index_index" template="Mageplaza_HelloWorld::index.phtml" />
    </referenceContainer>
</page>
Step 4: Create Block file
File: app/code/Mageplaza/HelloWorld/Block/Index.php
<?php
namespace Mageplaza\HelloWorld\Block;
class Index extends \Magento\Framework\View\Element\Template
{

}
Step 5: Create template file
File: app/code/Mageplaza/HelloWorld/view/frontend/templates/index.phtml
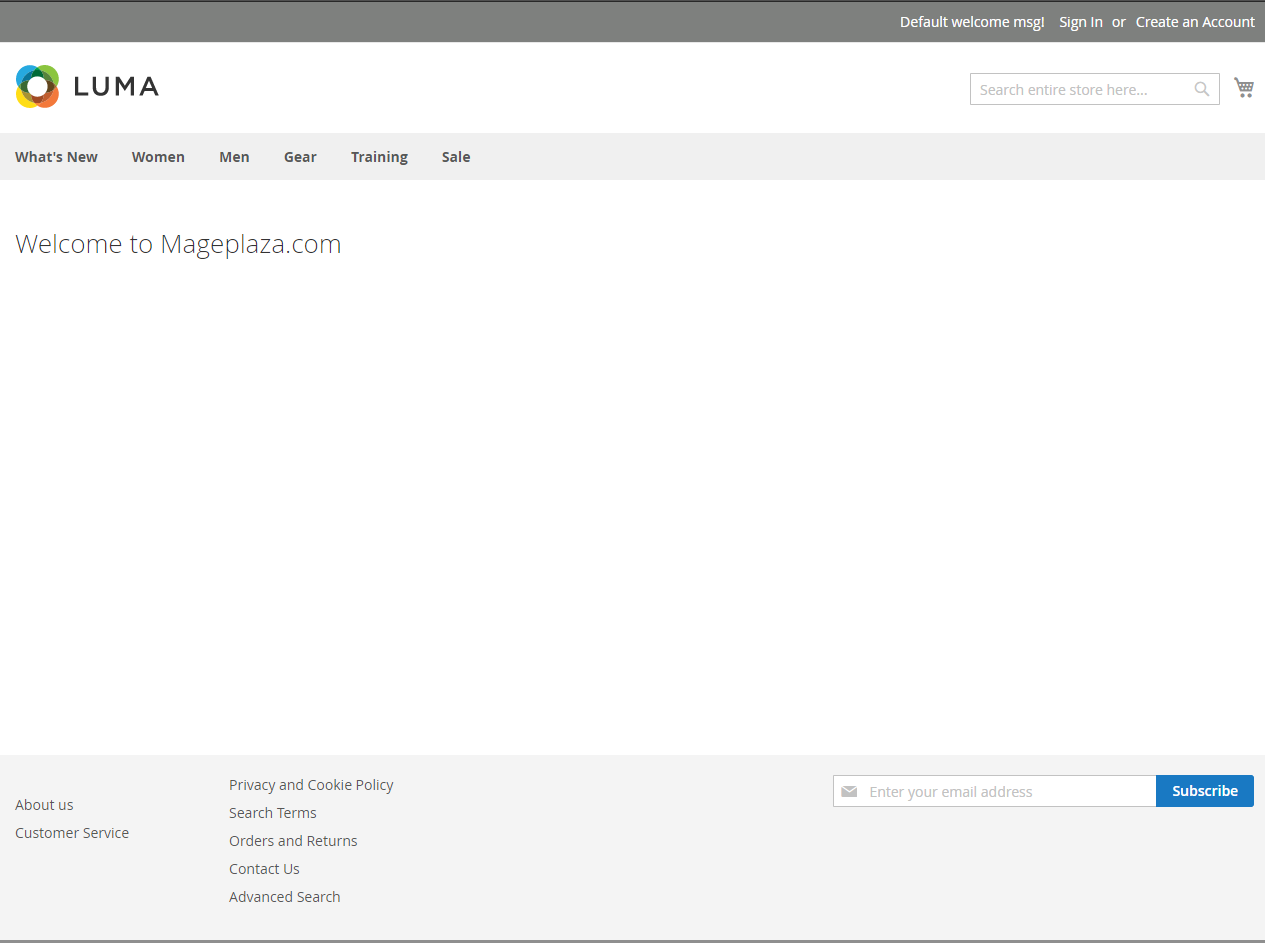
<h2>Welcome to Mageplaza.com</h2>
We can learn more View: Layout, Block, Template in this topic.
Step 6: Flush Magento cache
How to flush Magento cache here
Step 7: Run a test
Let’s open browser and navigate to
http://<yourhost.com>/helloworld/index/index
or
http://<yourhost.com>/helloworld/
Permission - ACL
There is a checking permission method in admin controller. Let’s take an example:
protected function _isAllowed()
{
    return $this->_authorization->isAllowed('Magento_AdminNotification::show_list');
}
It will check the current user has right to access this action or not, learn more Admin ACL Access Control Lists
Other methods in Magento 2 Controller
_forward() and _redirect() action.
\Magento\Framework\App\Action\Action class provide us 2 important methods: _forward and _redirect.
Forward method
_forward() protected function will edit the request to transfer it to another controller/action class. This will not change the request url. For example, we have 2 actions Forward and Hello World like this:
namespace Mageplaza\HelloWorld\Controller\Test;
class Forward extends \Magento\Framework\App\Action\Action
{
	public function execute()
	{
		$this->_forward('hello');
	}
}
If you make a request to http://example.com/route_name/test/forward , here are result will be displied on the screen.
Hello World! Welcome to Mageplaza.com
You can also change the controller, module and set param for the request when forward. Please check the _forward() function for more information:
protected function _forward($action, $controller = null, $module = null, array $params = null)
{
    $request = $this->getRequest();

    $request->initForward();

    if (isset($params)) {
        $request->setParams($params);
    }

    if (isset($controller)) {
        $request->setControllerName($controller);

        // Module should only be reset if controller has been specified
        if (isset($module)) {
            $request->setModuleName($module);
        }
    }

    $request->setActionName($action);
    $request->setDispatched(false);
}
Redirect method
This method will transfer to another controller/action class and also change the response header and the request url. With above example, if we replace _forward() method by this _redirect() method:
$this->_redirect('*/*/hello');
Then after access from the url http://example.com/route_name/test/forward, the url will be change to http://example.com/route_name/test/hello and show the message Hello World! Welcome to Mageplaza.com on the screen.
Want to expose your controller logic via REST API? Learn how to Magento 2 API controller setup to make your module accessible to external systems.
If you got this error message: Exception printing is disabled by default for security reasons, this topic may help.
Now it comes to the end of Create a controller topic, in the next tutorial, I will show you how to create a model in Magento 2.
Related Post
x

Jacker is the Chief Technology Officer (CTO) at Mageplaza, bringing over 10 years of experience in Magento, Shopify, and other eCommerce platforms. With deep technical expertise, he has led numerous successful projects, optimizing and scaling online stores for global brands. Beyond his work in eCommerce development, he is passionate about running and swimming.
Related Post

7 mins read
|
06-30-2026

How to Enable DebugView in GA4 for your Magento 2 store - Mageplaza
Step-by-step guide to enabling GA4 DebugView for Magento 2 merchants — verify your GA4 events are firing correctly before trusting your data.
9 mins read
|
06-09-2026

Table Rate Shipping in eCommerce: A Practical Guide
Master Magento 2 Table Rate Shipping. Learn how to configure an accurate, automated shipping matrix to optimize your checkout and boost sales.
11 mins read
|
06-02-2026
3 mins read
|
05-30-2026

Google Analytics Ecommerce Reports for Magento Merchants: What to track & Tips
A practical guide to GA4 ecommerce reports for Magento merchants, covering what to track, how to read each report, and specific tips to turn data into revenue decisions.
19 mins read
|
05-20-2026
5 mins read
|
07-30-2026
7 mins read
|
06-30-2026
How to Enable DebugView in GA4 for your Magento 2 store - Mageplaza
Step-by-step guide to enabling GA4 DebugView for Magento 2 merchants — verify your GA4 events are firing correctly before trusting your data.
9 mins read
|
06-09-2026
Table Rate Shipping in eCommerce: A Practical Guide
Master Magento 2 Table Rate Shipping. Learn how to configure an accurate, automated shipping matrix to optimize your checkout and boost sales.
11 mins read
|
06-02-2026
3 mins read
|
05-30-2026
Google Analytics Ecommerce Reports for Magento Merchants: What to track & Tips
A practical guide to GA4 ecommerce reports for Magento merchants, covering what to track, how to read each report, and specific tips to turn data into revenue decisions.
19 mins read
|
05-20-2026