
How to integrate Buyhatke with Magento 2
Table of Contents
Related posts
- How to integrate Google Shopping with Magento 2
- How to integrate Google Adwords with Magento 2
- How to integrate Bing Ads with Magento 2
- How to integrate eBay Commerce Network with Magento 2
- How to integrate Kelkoo Group with Magento 2
What is Buyhatke?
Buyhatke is one of the most loved shopping search engine which serves over 10 million users a month. Buyhatke is working on building the most popular platform on any internet connected device and powering insights around e-commerce. Buyhatke has a lot of global firsts to its name and has got tremendous user love for the same. Buyhatke dreams of touching millions of users on a daily basis and help them have an amazing shopping experience.
Since the product data parameters in Buyhatke and Magento 2 are fully compatible, store’ s admin can apply these parameters to their product data, which generates Product Feed. For the reason that Magento 2 now does not support feed generating, we need to use Product Feed extension.
Country using Buyhatke:
- India
Countries using Google Adwords:
- Required fields
- Product_Name
- Description
- Actual_Price
- Discount_Price
- URL
- Prod_Image
- Category_Name
- SubCategory_Name
- SubSubCategory_Name
- Brand
- Shipping_Price
- Shipping_Time
- EMI
- COD
- Stock
- Optional fields
- ISBN
- Weight
- Promotional_Note
- Specification
How to Integrate Buyhatke with Magento 2 step by step
Step 1: Register and use Buyhatke
Access to merchant.buyhatke.com, register to your Gmail account. Then choose the logo for your shop. After registering, go to your Gmail to verify and login to Buyhatke.
Step 2: Create Product Feed in Buyhatke
Since Magento 2 does not support to generate product feed, in this article, we introduce the Product Feed Module by Mageplaza.
2.1 Create a product feed
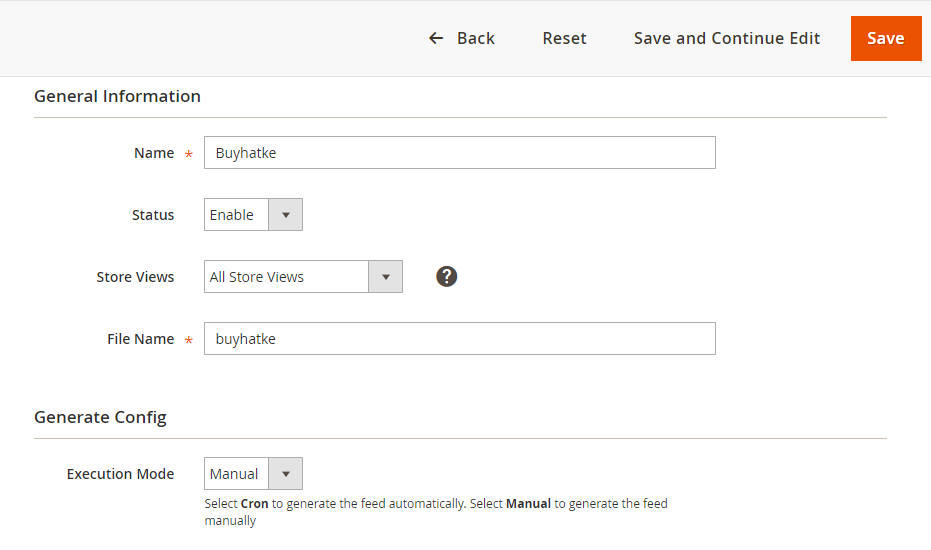
To begin with, go to Products > Catalog > Product Feed > Manage Feeds > Add New Feed
2.1.1 Insert information needed in General information
2.1.2 Choose template: Buyhatke XML

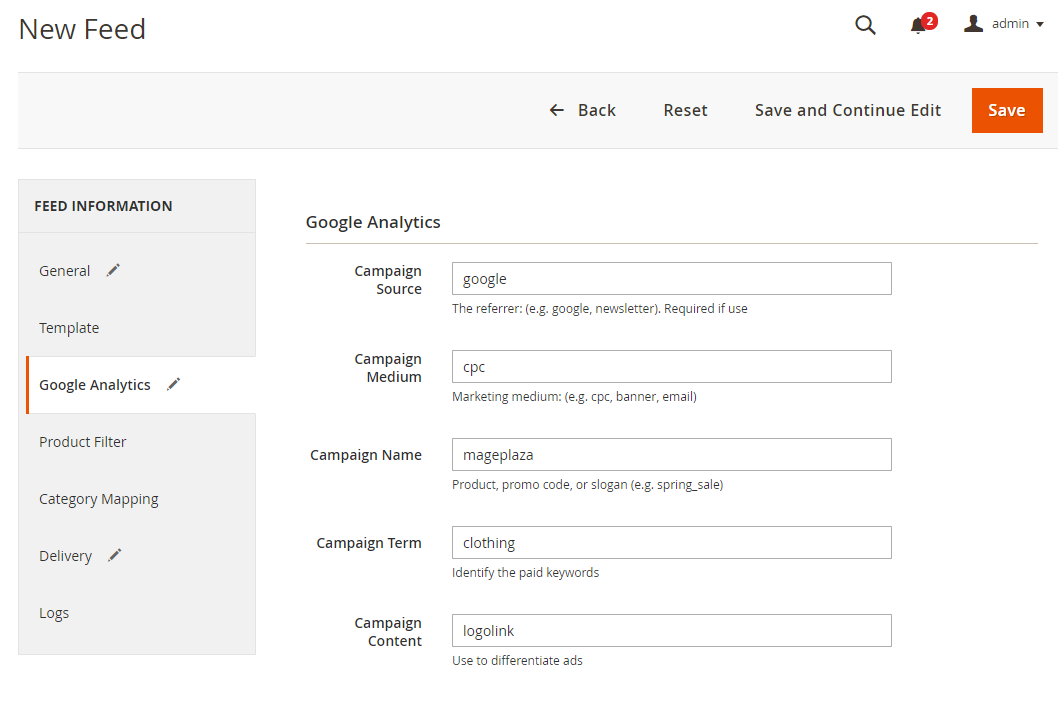
2.1.3 Insert information in Google Analytic part
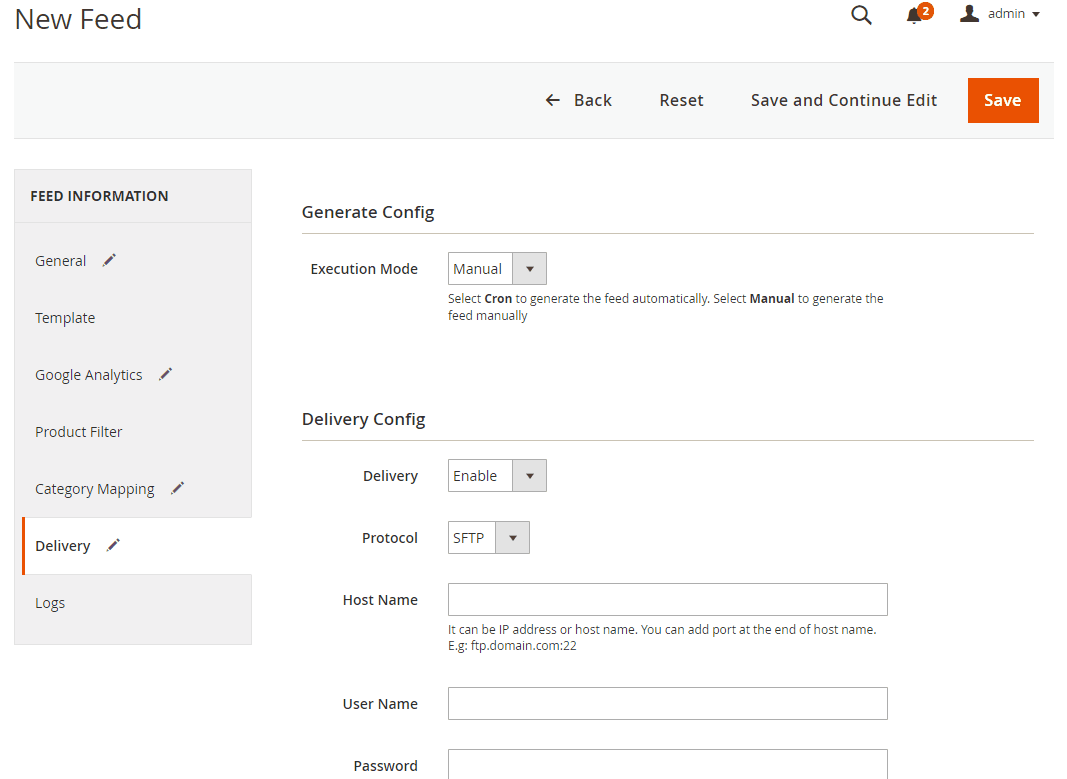
2.1.4 Select the conditions to export files

2.1.5 Choose the protocol to upload exported files (SFTP or FPT)
Then select Cron job to generate feed automatically, whereas Manual allows admin to create feeds manually.
2.1.6 Finish export feed
- Save the configuration
- Click Generate to export and upload files to the server
- Then download files from the server or Manage Feeds
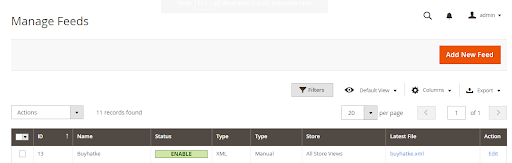
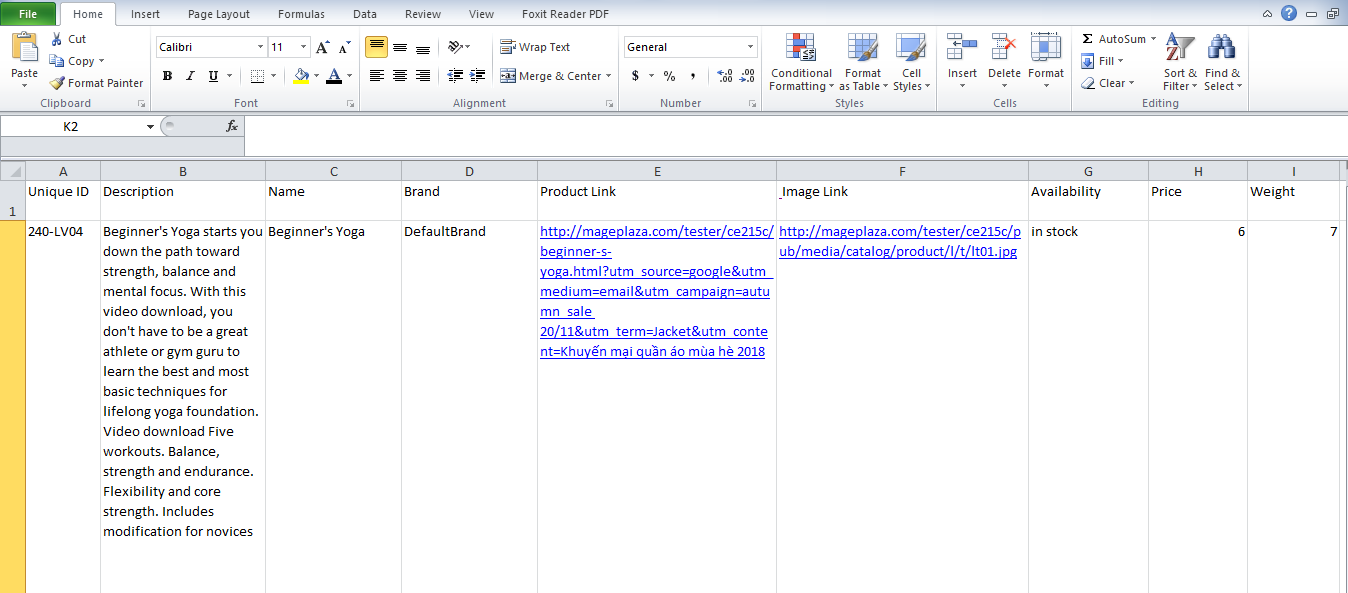
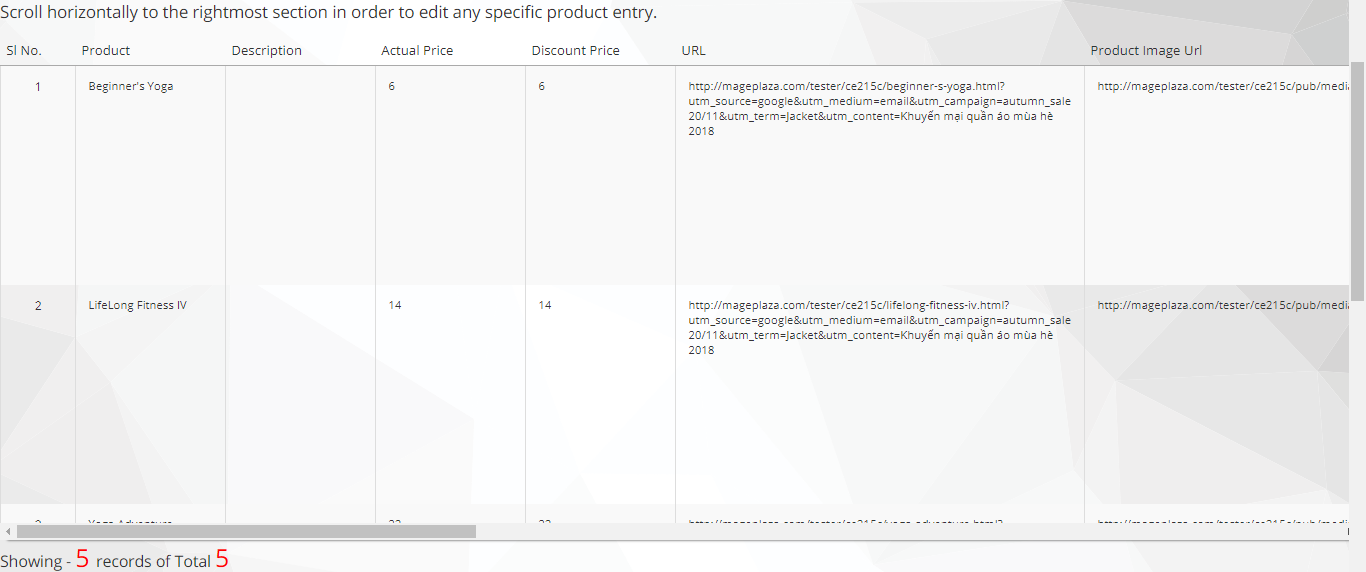
The file results after using Product Feed extension is as below:
2.2 Upload Product feed files
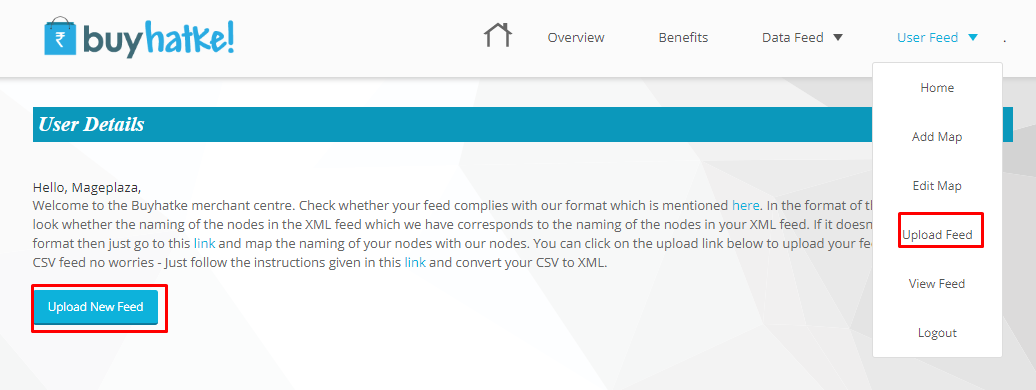
2.2.1 Add a new primary feed
-
After registering, please go to
Upload feed. -
Note: It’s possible to go to
Data feed>CSV to XMLfor instructions on migrating from CSV to XML if you already have a CSV file.
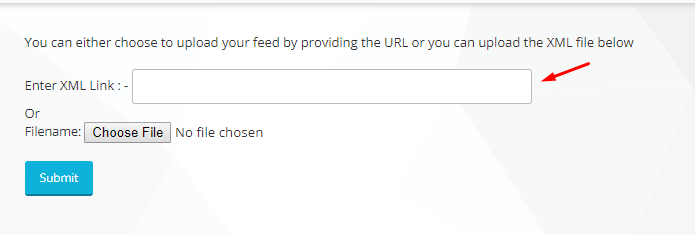
2.2.2 Upload feed file
- First, access to upfile.vn to get the link created. Click and drag your file, start downloading and copy the feed link.
- Copy your feed link in the box in below picture. Or you can directly insert the XML file by clicking
Choose Filebutton>Submitto submit your feed. - After submitting, choose
nextto move to the next step.
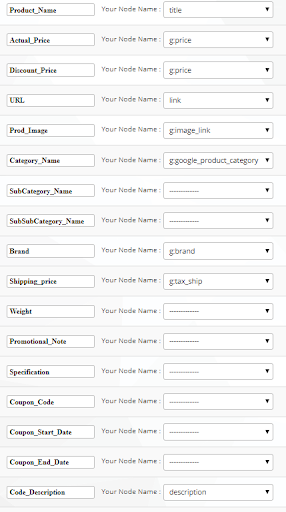
2.2.3 Map your feeds to Buyhatke’s feeds
Select your properties for each Buyhatke property correspondingly then click Submit after Mapping to submit your feed.
Result
Your feed is uploaded successfully.
Conclusion
This tutorial provides you the instruction to create data feed using Mageplaza Product Feed of Mageplaza and how to upload a feed to Buyhatke. For more detail features of this extension, please visit here
Note: Your feeds must be mapped correspondingly to the Buyhatke feeds.
Magento API Integration Service by Mageplaza
Connect your store with any 3rd-party software and boost customer experience quickly and efficiently.
Learn more
Back Ask Mageplaza