

Change Store Email Addresses - Mageplaza
3 mins read
|
04-02-2016

Vinh Jacker | 06-23-2016

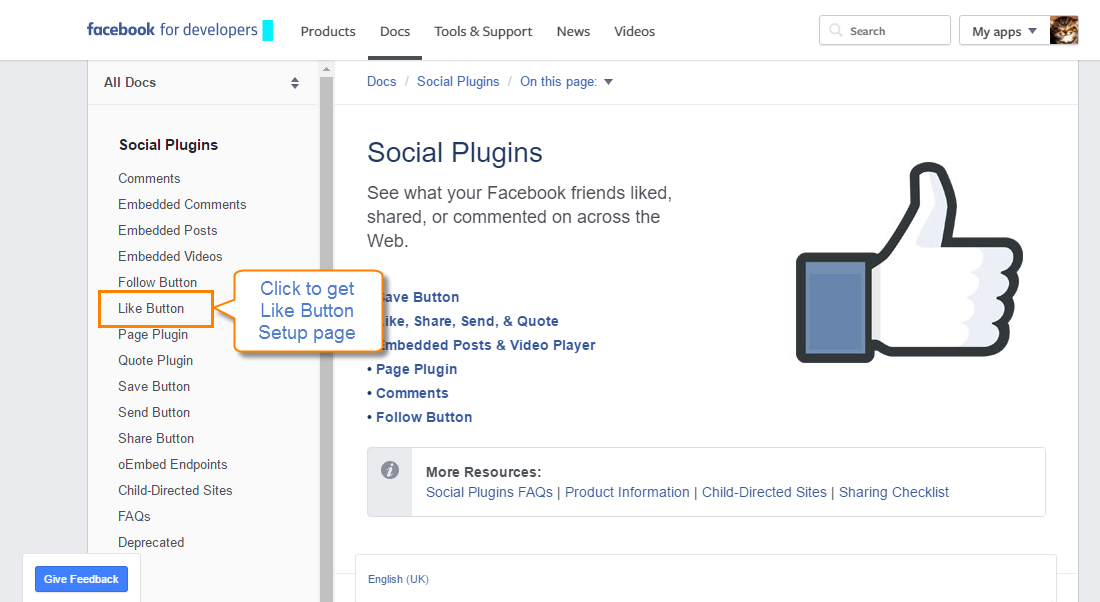
Adding Social Widget by Magento 2 default is a great way to lead your brand more close to every audience, especially as Facebook Social Plugin because the coverage of Facebook becomes larger and larger as well as the number of Facebookers is increasing dramatically. Thus, today we will help you know how to add a Facebook Like Button to your store without any Magento extension.
In case you want to experience more benefits when integrating social media, Free Magento 2 Social Login Extension is a helpful suggestion for you.
URL to Like field.Layout for the Like button on your site. If necessary, enable showing the profile picture when 2 or more likes.Width field.Action Type to Like or RecommendedGet Code button to view the javascripts, and then copy them to the clipboard.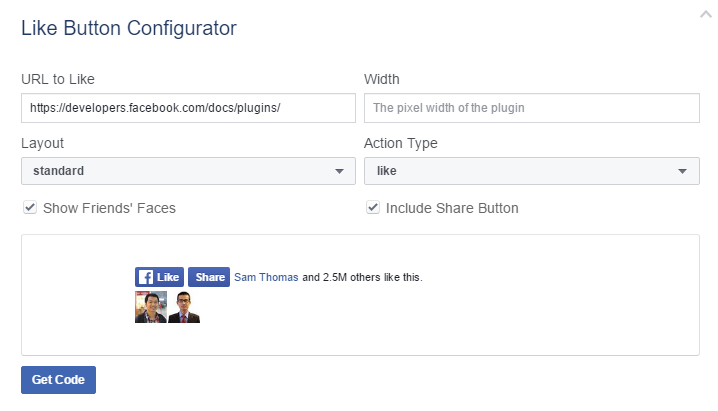
Content > Elements > Blocks.Add New Widget,
Block Title for the button like Facebook Like Button.Identifier with the lower characters and underscores instead of spaces (facebook_like_button)Store View(s)if you have many stores.Status field.Content box.Save Block to complete.Content > Elements > Widgets.Add New Widget button.Type box.Design Theme.Continue button.Widget Title for the internal reference.Assign to Store View field or to any store view you want to apply the block.Sort Order if many blocks are placed at the same container. The block is at the top if the inserted value is zero.Layout Update to set the layout.
Display on field.Widget Options tab on the left panel.Select Block to choose the block from the list you want to place.Save to complete.Go to your storefront to check the position of the block. If you want to the block, back to the widget settings and try a different page or block reference.
Related Post

Jacker is the Chief Technology Officer (CTO) at Mageplaza, bringing over 10 years of experience in Magento, Shopify, and other eCommerce platforms. With deep technical expertise, he has led numerous successful projects, optimizing and scaling online stores for global brands. Beyond his work in eCommerce development, he is passionate about running and swimming.
Related Post

Change Store Email Addresses - Mageplaza

Change Welcome Message - Mageplaza
Customize the welcome message on your store's homepage to provide a personalized touch for your customers. Improve the user experience with our step-by-step guide.

Configure Magento 2 Contact Form & Email: Detailed Guides - Mageplaza
Configure the email address for your Magento 2 store's contact form and ensure that your customers can easily get in touch with you with this informative guide

How to Install Magento 2 with Sample Data - Mageplaza
How to install Magento 2 with Sample Data. In this topic we will discuss about How to Install Magento 2 Step by Step in Manage Store topic

6 Steps To Stop Brute Force Attacks - Mageplaza
How To Stop Brute Force Attacks in Magento 1, 2. In this topic we will discuss about How To Stop Brute Force Attacks in Manage Store topic

How to set Locale, Language, and Country in Magento 2 - Mageplaza
Setup Locale State Country in Magento 2 provides setup your store information on Locale Options that determines the timezone, language, country and the days.
Change Store Email Addresses - Mageplaza
Change Welcome Message - Mageplaza
Customize the welcome message on your store's homepage to provide a personalized touch for your customers. Improve the user experience with our step-by-step guide.
Configure Magento 2 Contact Form & Email: Detailed Guides - Mageplaza
Configure the email address for your Magento 2 store's contact form and ensure that your customers can easily get in touch with you with this informative guide
How to Install Magento 2 with Sample Data - Mageplaza
How to install Magento 2 with Sample Data. In this topic we will discuss about How to Install Magento 2 Step by Step in Manage Store topic
6 Steps To Stop Brute Force Attacks - Mageplaza
How To Stop Brute Force Attacks in Magento 1, 2. In this topic we will discuss about How To Stop Brute Force Attacks in Manage Store topic
How to set Locale, Language, and Country in Magento 2 - Mageplaza
Setup Locale State Country in Magento 2 provides setup your store information on Locale Options that determines the timezone, language, country and the days.