


5 mins read
|
07-30-2026
How to configure GMX Mail SMTP in Magento 2
Vinh Jacker
|
03-17-2025

In order to acknowledge How to configure GMX Mail SMTP in Magento 2, a little bit quick glance at the outgoing SMTP server setting is really necessary.
Scanning about GMX Mail provider a bit, it’s a totally free software which can be fit with any small-medium model of business, a young rookie mail provider. Furthermore, to catch up with high technology behaviour nowadays, GMX has released a new portable app to make it compatible with lots of mobile device taking advantage of reaching more. No wonders why there’s an increase in company fond of using as well as transferring GMX Mail to their vital email campaign thanks to its outstanding convenience.
To Magento 2 users, it’s vital to access GMX Mail provider via Magento 2 platform.
How to configure GMX Mail SMTP in Magento 2
- Step 1: Create a new GMX Mail account.
- Step 2: Download and install Magento 2 SMTP extension.
- Step 3: Configure SMTP extension for Magento 2.
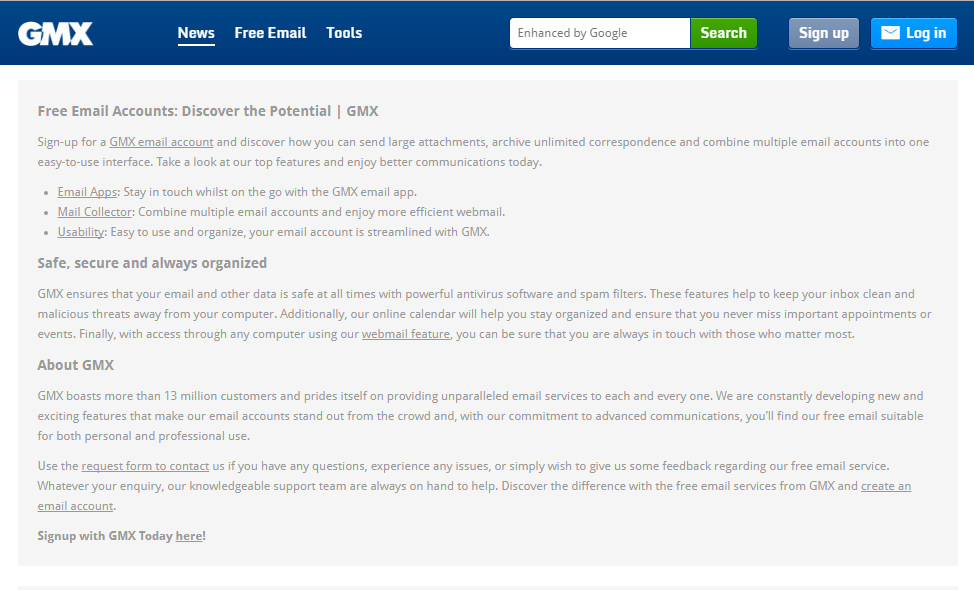
Step 1: Create a new GMX Mail account.
- Go to their official website GMX Mail get the register form, own a free account from today. If you already had one, it’s ok to let this step a pass.
- GMX Mail SMTP server address: smtp.gmx.com
- GMX Mail SMTP username: Your full GMX Mail email address ([email protected])
- GMX Mail SMTP password: Your GMX Mail password
- GMX Mail SMTP port: 587
- GMX Mail SMTP TLS/SSL required: no
- GMX Mail default SMTP Settings: When you get to the screen that asks for your GMX Mail SMTP information, take note those following settings.
Step 2. Download and install Magento 2 SMTP extension.
This guide will use Magento 2 SMTP extension to configure this setup. It’s free extension so there’s no risk to try out this new advanced modules. You can download SMTP in Github and the installation guide can be found at this Documentation: Magento 2 install module.
Step 3. Configure SMTP extension for Magento 2.
Back to Magento Admin, make your way from Mageplaza > SMTP > Configuration. Expand General Configuration, choose Yes to turn Mageplaza SMTP on

Expand SMTP Configuration Option, complete these following steps
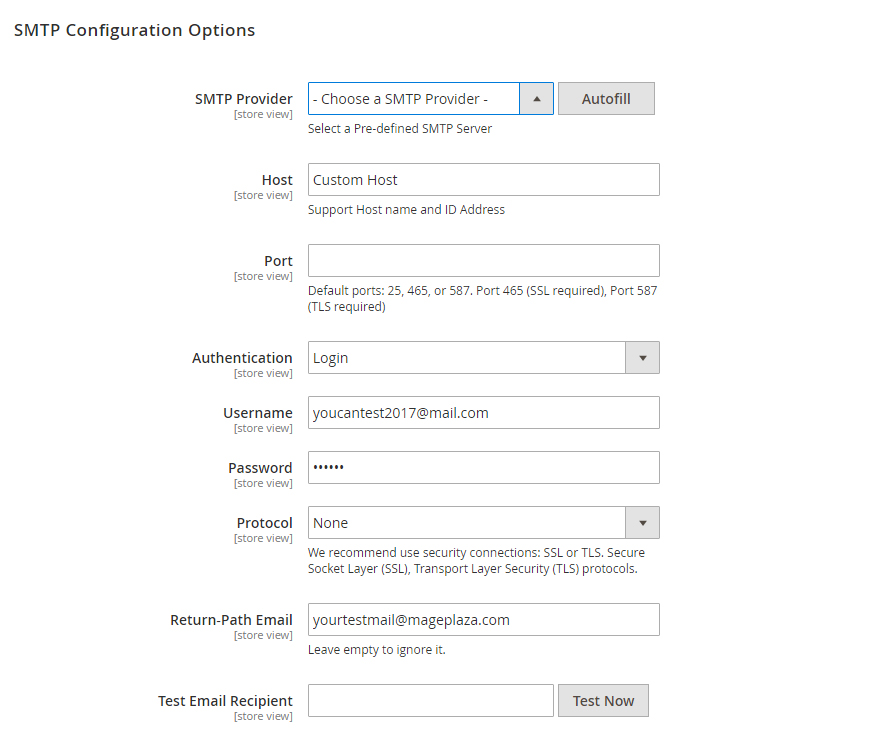
- In the SMTP Provider field, choose 1&1 Webmail.
- Click Auto Fill button to fill Host, Port, Authentication and Protocol will be automatically filled up to match GMX Mail provider you had chosen.
- In the Username and Password field, fill the 1&1 Webmail account’s information you just have got from Step 1.
- In Test Email Recipient, enter the email you want to sent to. A successful report will show up if thing worked properly.
And now you have done with the set up SMTP in Magento 2 with the GMX Mail provider!
Explore more:
Table of content

Jacker is the Chief Technology Officer (CTO) at Mageplaza, bringing over 10 years of experience in Magento, Shopify, and other eCommerce platforms. With deep technical expertise, he has led numerous successful projects, optimizing and scaling online stores for global brands. Beyond his work in eCommerce development, he is passionate about running and swimming.
Related Post

7 mins read
|
06-30-2026

How to Enable DebugView in GA4 for your Magento 2 store - Mageplaza
Step-by-step guide to enabling GA4 DebugView for Magento 2 merchants — verify your GA4 events are firing correctly before trusting your data.
8 mins read
|
06-09-2026

Table Rate Shipping in eCommerce: A Practical Guide
Master Magento 2 Table Rate Shipping. Learn how to configure an accurate, automated shipping matrix to optimize your checkout and boost sales.
10 mins read
|
06-02-2026
3 mins read
|
05-30-2026

Google Analytics Ecommerce Reports for Magento Merchants: What to track & Tips
A practical guide to GA4 ecommerce reports for Magento merchants, covering what to track, how to read each report, and specific tips to turn data into revenue decisions.
18 mins read
|
05-20-2026
5 mins read
|
07-30-2026
7 mins read
|
06-30-2026
How to Enable DebugView in GA4 for your Magento 2 store - Mageplaza
Step-by-step guide to enabling GA4 DebugView for Magento 2 merchants — verify your GA4 events are firing correctly before trusting your data.
8 mins read
|
06-09-2026
Table Rate Shipping in eCommerce: A Practical Guide
Master Magento 2 Table Rate Shipping. Learn how to configure an accurate, automated shipping matrix to optimize your checkout and boost sales.
10 mins read
|
06-02-2026
3 mins read
|
05-30-2026
Google Analytics Ecommerce Reports for Magento Merchants: What to track & Tips
A practical guide to GA4 ecommerce reports for Magento merchants, covering what to track, how to read each report, and specific tips to turn data into revenue decisions.
18 mins read
|
05-20-2026