


7 mins read
|
06-30-2026
Configure Gmail SMTP in Magento 2
Vinh Jacker
|
03-17-2025

Gmail is one of the most trusted email services worldwide, with billions of users relying on it every day for personal and business communication. For Magento 2 stores, ensuring that emails, such as order confirmations, invoices, or newsletters, land in the customer’s inbox and avoid the spam folder, is crucial for maintaining trust and driving sales. That’s where SMTP comes in.
In this guide, you’ll learn how to configure Gmail SMTP in Magento 2 step by step. Using Mageplaza module, you can authenticate your emails properly, improve deliverability, and make sure your store communication looks professional. Whether you’re new to Magento 2 or an experienced developer, this setup is straightforward and effective.
How to configure Magento 2 Gmail SMTP
To start configuring Gmail SMTP in Magento 2, download Mageplaza FREE Magento 2 SMTP extension.
Step 1. Create and setup Gmail account
- Create a Gmail account by going to the Google signin page, select Create account and follow next steps on the screen.
- Go to
My account > Security > 2-Step Verification - Turn on the 2-Step Verification
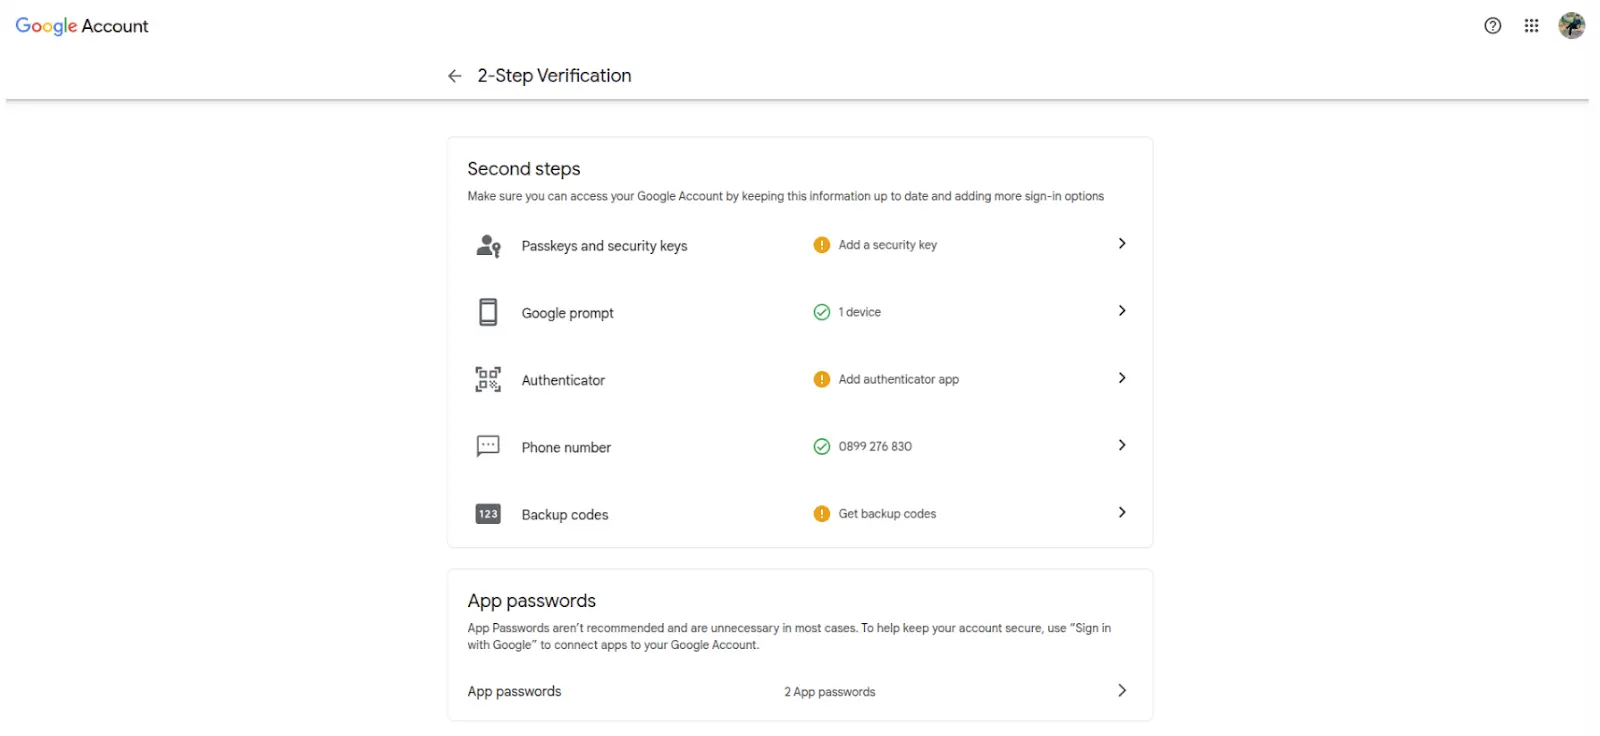
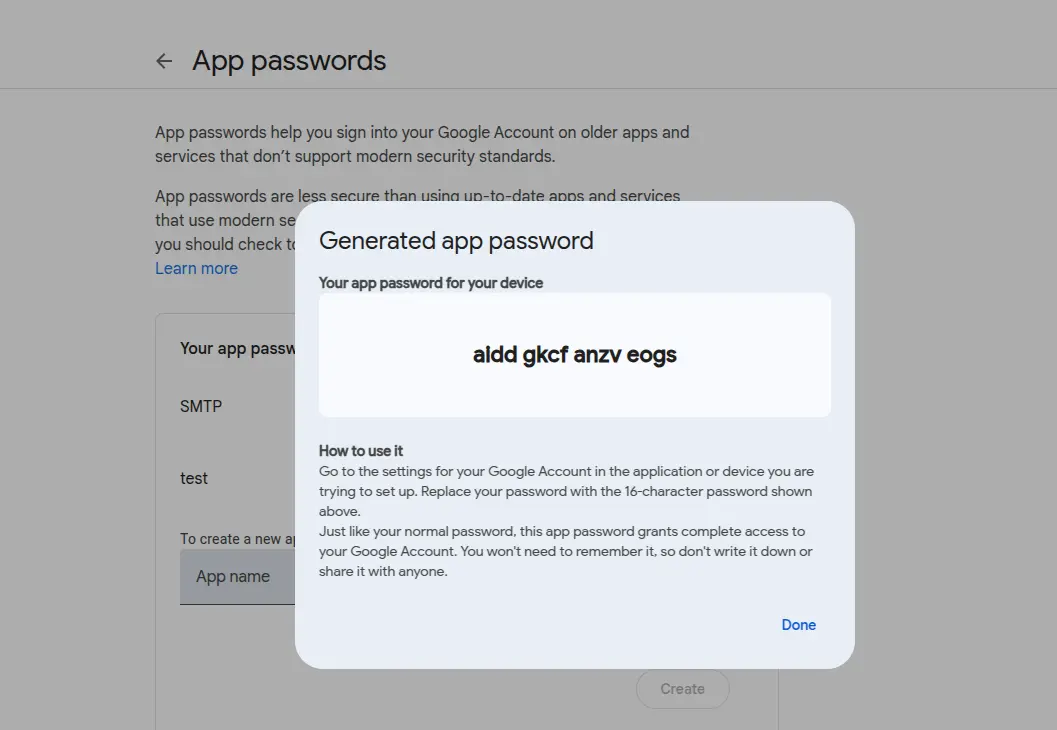
- Create app password: Go to App passwords, enter App name, then click Create. Now the password will be created and display like this:
Step 2. Setup Gmail SMTP for Magento 2
- Back to Magento Admin, make your way from
Mageplaza > SMTP > Configuration. Expand General Configuration, choose Yes to turn Mageplaza SMTP on

- Expand SMTP Configuration Option, complete these following steps
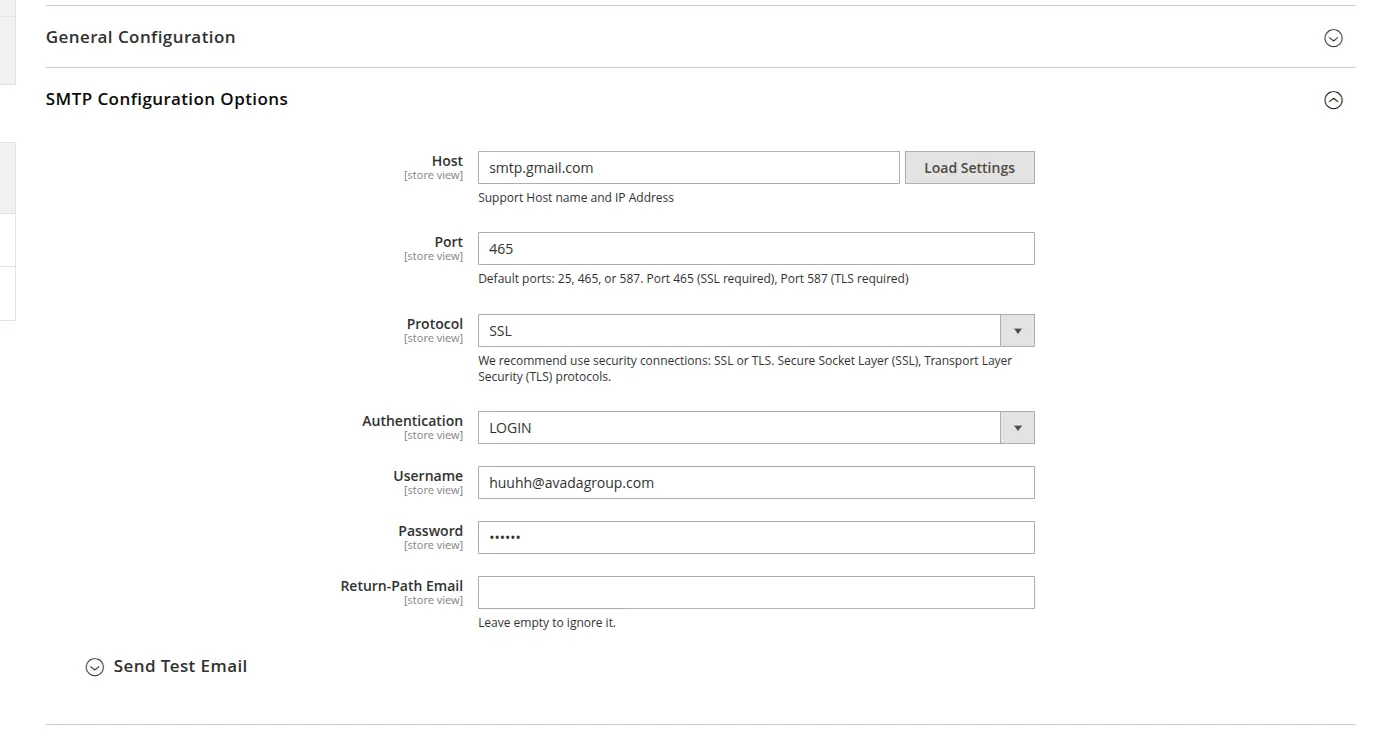
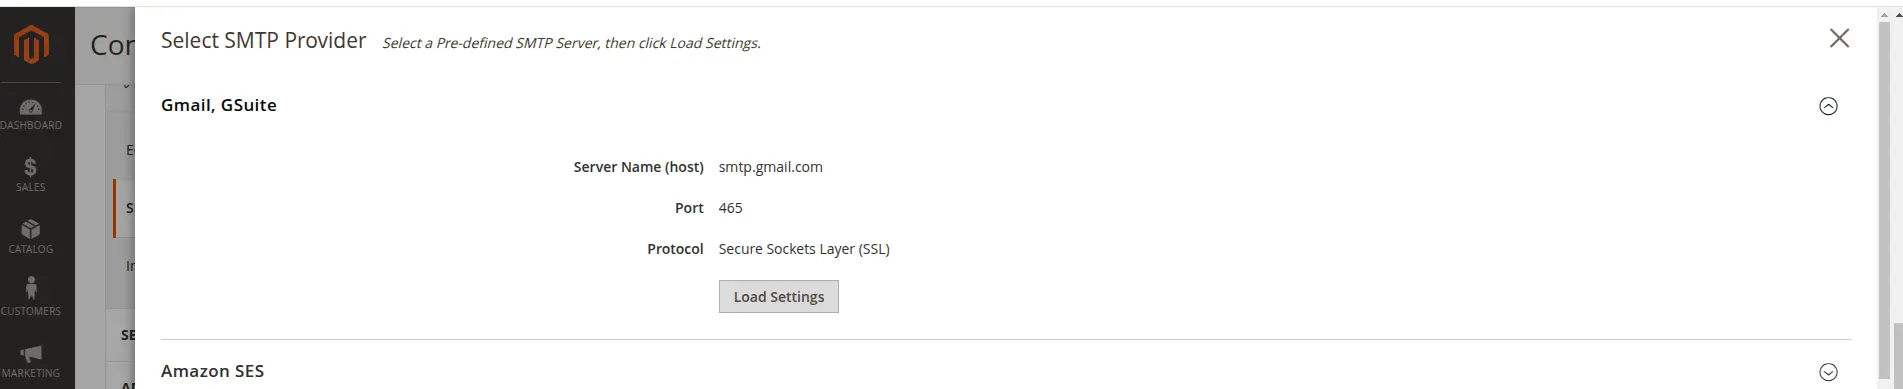
- In the Host section, click Load Settings, then select Gmail, and click Load Settings again:
- In the Username and Password field, fill the gmail account you just have setup in the mentioned STEP 1.
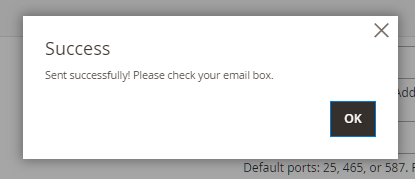
- In Test Email Recipient, enter the email you want to sent to. A successful report will show up if thing worked properly.

Note: Turn off the Developer mode before proceeding to the next step

Step 3: Test SMTP
And now we will come to the final step, which is to test your SMTP configuration. You need to open the “Send Test Email” area and set these options:
Send To: Pick a name for who’s sending the email. You have 5 choices like “Owner” or “Customer Support.” It won’t change the actual email address you set earlier, just the name people see.
Send from: Enter the email address of the recipient
After selecting, you will be able to see this:
If you look in the recipient’s inbox, the test email should look like this:

And now you have set up SMTP in Magento 2 with Gmail provider!
Conclusion
Configuring Gmail SMTP in Magento 2 is one of the simplest yet most effective ways to ensure your store’s emails reach customers reliably. While the default Magento 2 also supports SMTP email setup, this guide is to help non-tech users deliver messages professionally without technical headaches. Once you’ve completed the setup and testing steps, your store is ready to send secure, high-deliverability emails that improve customer experience and support long-term growth.
Related Post
Table of content

Jacker is the Chief Technology Officer (CTO) at Mageplaza, bringing over 10 years of experience in Magento, Shopify, and other eCommerce platforms. With deep technical expertise, he has led numerous successful projects, optimizing and scaling online stores for global brands. Beyond his work in eCommerce development, he is passionate about running and swimming.
Related Post


How to Enable DebugView in GA4 for your Magento 2 store - Mageplaza
Step-by-step guide to enabling GA4 DebugView for Magento 2 merchants — verify your GA4 events are firing correctly before trusting your data.
8 mins read
|
06-09-2026

Table Rate Shipping in eCommerce: A Practical Guide
Master Magento 2 Table Rate Shipping. Learn how to configure an accurate, automated shipping matrix to optimize your checkout and boost sales.
10 mins read
|
06-02-2026
3 mins read
|
05-30-2026

Google Analytics Ecommerce Reports for Magento Merchants: What to track & Tips
A practical guide to GA4 ecommerce reports for Magento merchants, covering what to track, how to read each report, and specific tips to turn data into revenue decisions.
18 mins read
|
05-20-2026

5 Ways to Hide Products on Shopify (2026 Guide)
Explore the best 5 ways to hide products on Shopify. Learn how to manage visibility, protect pricing, and create a tailored shopping experience for buyers.
18 mins read
|
05-16-2026
7 mins read
|
06-30-2026
How to Enable DebugView in GA4 for your Magento 2 store - Mageplaza
Step-by-step guide to enabling GA4 DebugView for Magento 2 merchants — verify your GA4 events are firing correctly before trusting your data.
8 mins read
|
06-09-2026
Table Rate Shipping in eCommerce: A Practical Guide
Master Magento 2 Table Rate Shipping. Learn how to configure an accurate, automated shipping matrix to optimize your checkout and boost sales.
10 mins read
|
06-02-2026
3 mins read
|
05-30-2026
Google Analytics Ecommerce Reports for Magento Merchants: What to track & Tips
A practical guide to GA4 ecommerce reports for Magento merchants, covering what to track, how to read each report, and specific tips to turn data into revenue decisions.
18 mins read
|
05-20-2026
5 Ways to Hide Products on Shopify (2026 Guide)
Explore the best 5 ways to hide products on Shopify. Learn how to manage visibility, protect pricing, and create a tailored shopping experience for buyers.
18 mins read
|
05-16-2026