


Change Store Email Addresses - Mageplaza
3 mins read
|
04-02-2016

Vinh Jacker | 09-05-2016

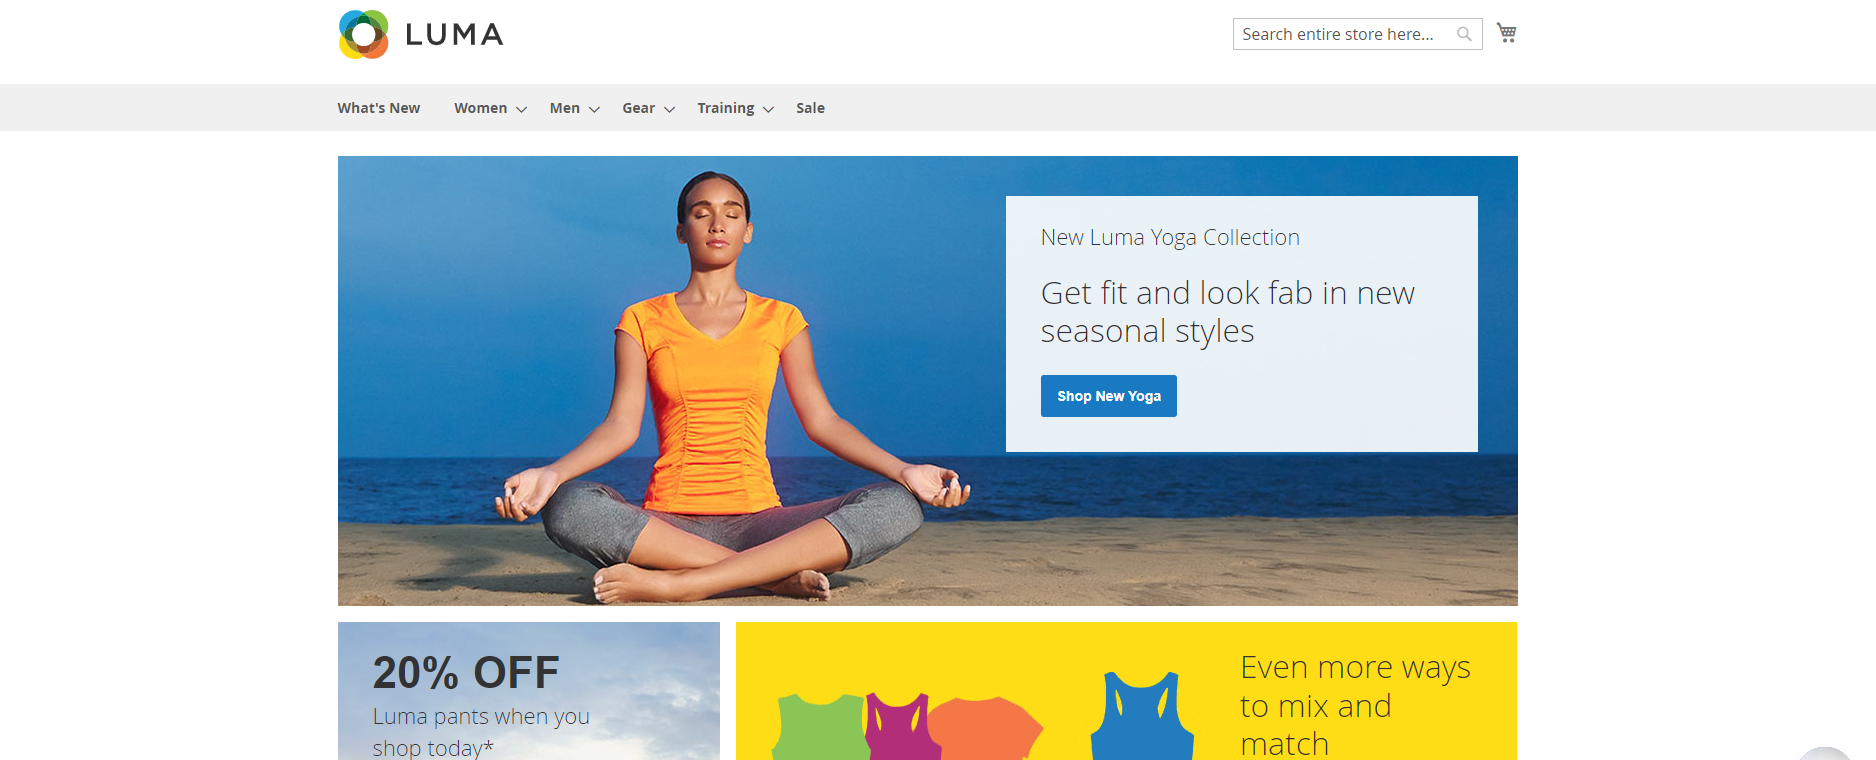
Magento 2 Demo Store is the live demo site that brings the real experience on Mageplaza extensions instead of installing Magento 2 on localhost. Magento 2 Demo Store with sample data allows you to interact as a customer in the frontend and work as an admin in the backend.
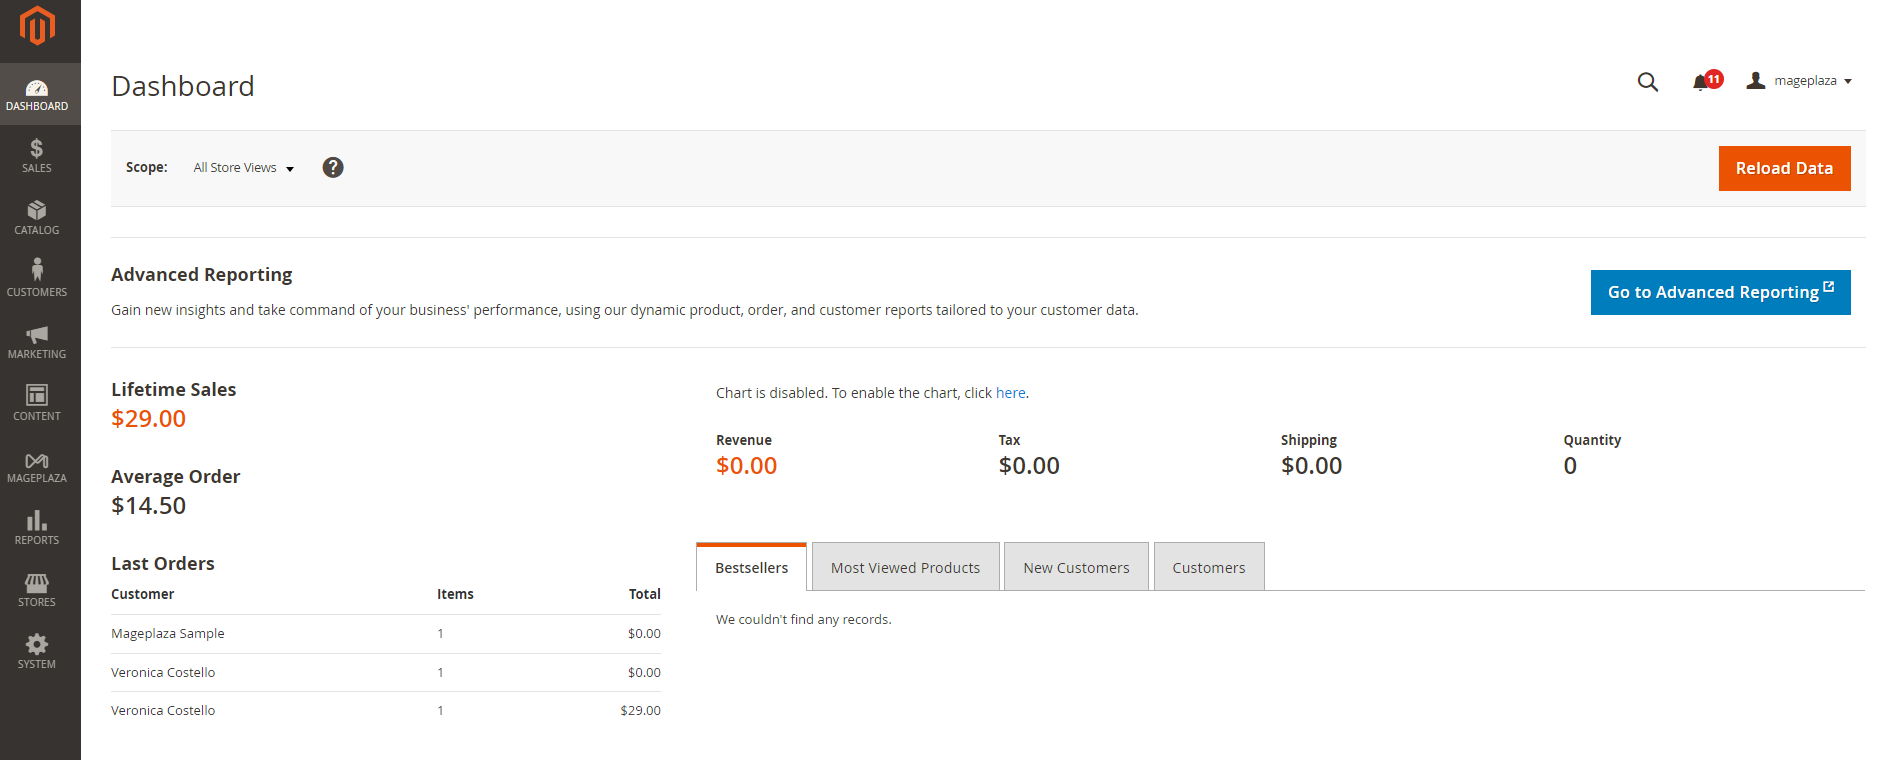
Using the online Magento 2 Admin Demo is the perfect solution that helps you enjoy all the utilities of Magento 2 without any installation. The demo is guaranteed to work well with the timely assistance of the Mageplaza Technical Team.
We collect all live demos on the internet to help merchants and developers run quick practices on Magento 2 Store.
Note: The above Magento extensions are compatible with all Magento 2 versions such as: Magento 2.0.0, Magento 2.1.0, Magento 2.2.0, Magento 2.3.0, Magento 2.4.0, Magento 2.4.1, Magento 2.4.2, Magento 2.4.3, Magento 2.4.4, Magento 2.4.5, Magento 2.4.6, Magento 2.4.7, Magento 2.4.8,

Jacker is the Chief Technology Officer (CTO) at Mageplaza, bringing over 10 years of experience in Magento, Shopify, and other eCommerce platforms. With deep technical expertise, he has led numerous successful projects, optimizing and scaling online stores for global brands. Beyond his work in eCommerce development, he is passionate about running and swimming.
Related Post

Change Store Email Addresses - Mageplaza

Change Welcome Message - Mageplaza
Customize the welcome message on your store's homepage to provide a personalized touch for your customers. Improve the user experience with our step-by-step guide.

Configure Magento 2 Contact Form & Email: Detailed Guides - Mageplaza
Configure the email address for your Magento 2 store's contact form and ensure that your customers can easily get in touch with you with this informative guide

How to Install Magento 2 with Sample Data - Mageplaza
How to install Magento 2 with Sample Data. In this topic we will discuss about How to Install Magento 2 Step by Step in Manage Store topic

6 Steps To Stop Brute Force Attacks - Mageplaza
How To Stop Brute Force Attacks in Magento 1, 2. In this topic we will discuss about How To Stop Brute Force Attacks in Manage Store topic

How to set Locale, Language, and Country in Magento 2 - Mageplaza
Setup Locale State Country in Magento 2 provides setup your store information on Locale Options that determines the timezone, language, country and the days.
Change Store Email Addresses - Mageplaza
Change Welcome Message - Mageplaza
Customize the welcome message on your store's homepage to provide a personalized touch for your customers. Improve the user experience with our step-by-step guide.
Configure Magento 2 Contact Form & Email: Detailed Guides - Mageplaza
Configure the email address for your Magento 2 store's contact form and ensure that your customers can easily get in touch with you with this informative guide
How to Install Magento 2 with Sample Data - Mageplaza
How to install Magento 2 with Sample Data. In this topic we will discuss about How to Install Magento 2 Step by Step in Manage Store topic
6 Steps To Stop Brute Force Attacks - Mageplaza
How To Stop Brute Force Attacks in Magento 1, 2. In this topic we will discuss about How To Stop Brute Force Attacks in Manage Store topic
How to set Locale, Language, and Country in Magento 2 - Mageplaza
Setup Locale State Country in Magento 2 provides setup your store information on Locale Options that determines the timezone, language, country and the days.