

Change Store Email Addresses - Mageplaza
3 mins read
|
04-02-2016

Vinh Jacker | 03-17-2025

Magento 2 includes more advantages than its first version - Magento 1. The technologies and innovations used in Magento 2 make your store’s performance more seamless, secure, and reliable than ever before.
However, when you migrate from Magento 1 to Magento 2 or are inexperienced in this field, you might get some setting and configuration problems. Magento 2.3.x permission is one of them.
If you don’t know what to do with permissions on your Magento 2 versions installation or are messed up, you’ve come to the right place.
In this article, I will talk about Magento 2 file/ folder permissions and shed light on how to set file/ folder permissions for Magento 2 properly.
File permissions are essential for maintaining Magento stores’ security and functionality. It decides who has the right to access, adjust, and execute important files in the Magento 2 directory structure.
Particularly, Magento file permissions include 3 actions below:
Read (R): It permits admins to view the files’ contents, necessary for executing scripts or accessing configuration files.
Write (W): It gives users the ability to edit files. This permission is important when updating Magento configurations, installing modules, and uploading files.
Execute (X): It allows users to run scripts and programs. This is a mandatory action that is needed to run Magento scripts and commands.
Magento recommends specific file permissions to ensure the security and proper functioning of the application. For example, directories typically require 755 permissions, while files may need 644 permissions.
Magento recommends that users should have specific file permissions in order to guarantee the app’s security and functionality. Different files will need different permission types. For instance, files require 644 permissions, while directories need 755 permissions.
We will discuss more about the file permission types later. Now, let’s take a look at the benefits of applying permissions on Magento files.
There are many advantages to having file permissions, and they all play important roles in maintaining and protecting your Magento store.

Enhanced Security: Proper file permissions restrict access to sensitive files in Magento, protecting customer data, payment details, and admin credentials from unauthorized users.
Protection Against Malicious Activities: Restrictive permissions on critical files reduce security risks like malware injections and phishing, helping prevent breaches by limiting access to essential components.
Improved Stability: Correct permissions ensure Magento runs smoothly without errors, leading to a reliable platform and better user experience for customers and admins.
Compliance: Following recommended file permissions helps meet security standards (e.g., PCI DSS, GDPR), protect customer data, avoid legal penalties, and maintain trust.
Data Integrity: Restricting access to critical files prevents unauthorized changes or accidental modifications, ensuring the accuracy and reliability of important data like customer info and product details.
Efficient Collaboration: Proper permissions allow multiple users or teams to work on Magento projects without interference, promoting effective collaboration and productivity.
Troubleshooting: Clear permissions make it easier to identify and fix permission-related issues, speeding up troubleshooting and minimizing downtime for the store.
chmod stands for “Change Mode” and is a command used in Unix and Unix-like operating systems to change file and directory permissions.
Common chmod Commands:
chmod [options] permissions file/directory: Changes the permissions of the specified file or directory. Permissions can be given in symbolic form (e.g., u+rwx) or octal form (e.g., 755).chmod -R [permissions] directory: Recursively changes the permissions of the specified directory and all its contents.chmod +x file: Adds execute permission to the specified file.chmod -x file: Removes execute permission from the specified file.chmod u+s file: Sets the setuid bit on the specified file, allowing it to be executed with the owner’s privileges.chmod g+s directory: Sets the setgid bit on the specified directory, ensuring that files created within inherit the group’s ownership and permissions of the directory.Umask, short for “User file creation mask,” is a command in Unix and Unix-like operating systems that sets default permissions for newly created files and directories. It works by subtracting the specified mask from the default permissions and determining the final permissions for the file or directory.
Common Umask Commands:
umask: Displays the current umask value for the current shell session.umask [mask]: Sets the default file permissions mask to the specified value. The mask is usually in octal format (e.g., 022, 077).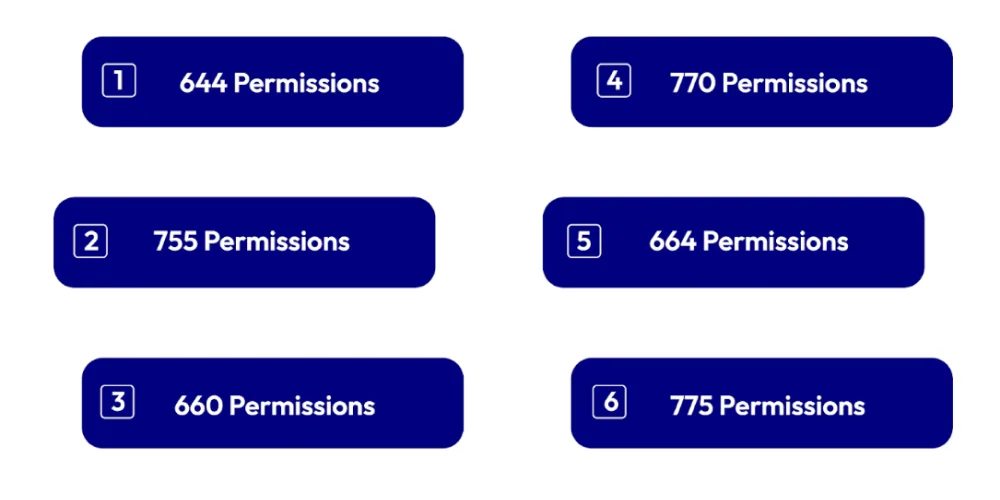
1. 644 Permissions This setting allows the file owner to read and write the file while group members and others can only read it. It’s commonly used for files like PHP scripts, configuration files, and templates.
2. 755 Permissions The owner has full permission to read, write, and execute the files, while others can only read and execute. It’s typically applied to directories, allowing users to access and navigate through them.
3. 660 Permissions This setting restricts file access to the owner, who can read and write. Others can’t do anything at all. It’s often used for sensitive files, such as those containing database credentials or confidential data.
4. 770 Permissions The owner has full read, write, and execute permissions, while others have no access. This is commonly applied to directories with restricted access.
5. 664 Permissions The owner and group members have read-and-write access, while others can only read. It’s typically used for files like logs or cache files that need to be writable by the web server user.
6. 775 Permissions The owner and group members have full read, write, and execute access, while others can read and execute. It’s often applied to directories with scripts or files that need to be writable by the web server group.
**Summary table**
| Types of permissions | Owner ability | Other people ability |
|---|---|---|
| 644 | Read + Write | Read |
| 755 | Read + Write + Execute | Read + Execute |
| 660 | Read + Write | Nothing |
| 770 | Read + Write + Execute | Nothing |
| 664 | Read + Write | Read |
| 775 | Read + Write + Execute | Read + Execute |
Depending on whether you use shared permissions or private server, the setting procedures will differ.
Usually, shared hosting allows logging into the server as one user. The user may log in, then transfer files using FTP, and this user also runs the web server.
To apply the one-owner setup, you must log in to your Magento as the same user utilizing the server.
Having only one file system owner, it can be insecure. That’s why we advise you to deploy Magento in production on a private server instead of on shared hosting if it’s possible.
After logging in to the Magento server, the user has to access to write the following directories:
vendor
app/code (only for production mode)
app/etc
pub/static
var (only for default or developer mode)
Any other static resources
generated/code
generated/metadata
var/view_preprocessed
When it comes to deploying your site to production mode, the same directories should be disabled for write permissions to increase the security level.
If you want to update or install new components or just upgrade the Magento software, every preceding directory needs to be read-write.
You can set these permissions by choosing between the command line and a file manager application.
As the file manager provided by your hosting service is confidential, we will give you an overall solution for the setting made via the command line.
Step 1: First, you have to log in to your Magento server.
Step 2: Then, move to your Magento installation directory.
Step 3: Next, your job’s to to enter the following command to change to production mode:
bin/magento deploy:mode:set production
find app/code var/view_preprocessed vendor pub/static app/etc generated/code generated/metadata \( -type f -or -type d \) -exec chmod u-w {} + && chmod o-rwx app/etc/env.php && chmod u+x bin/magento
To update components and upgrade the Magento software, you need to make files and directories writable
Step 1: Sign in to the Magento server.
Step 2: Navigate to your Magento installation directory.
Step 3: Enter the following command: chmod -R u+w .
When you’re server owner (either a hosting provider’s or private server setup), there are 2 main types of users:
The web server user: Runs the Magento Admin (including the Setup Wizard) and storefront. However, Linux systems don’t offer a shell for this user. So you couldn’t log in to the Magento server as, or switch to, the web server user.
The command-line user: Can log in to your Magento server as or switch to, also referred to as the Magento file system owner. Magento uses this user for running Magento CLI commands and cron. This user is
We recommend you make a share group to which they belong as their users access the same files. You can see
Moving to the next procedures, we will presume that you have already done it.
Users in developer and default mode must have the write access to following directories:
var
generated
pub/static
pub/media
app/etc
To set setgid and permissions for developer mode:
Step 1: You need to log in to your Magento server as, or switch to, the Magento file system owner.
Step 2: Enter those commands
cd <magento_root>
find var generated pub/static pub/media app/etc -type f -exec chmod g+w {} + &&
find var generated pub/static pub/media app/etc -type d -exec chmod g+ws {} +
Before deploying your site to production, we advise you to disable the writable access from files in the following directories for security improvement:
vendor
app/code
app/etc
lib
pub/static
Any other static resources
generated/code
generated/metadata
var/view_preprocessed
To disable writable permissions to files and directories from the web server user’s group, follow 4 steps below:
Step 1: First, log in to your Magento server.
Step 2: After that, move to your Magento installation directory.
Step 3: Enter the below command to turn to production mode
bin/magento deploy:mode:set production
find app/code lib pub/static app/etc generated/code generated/metadata var/view_preprocessed \( -type d -or -type f \) -exec chmod g-w {} + && chmod o-rwx app/etc/env.php
To make files and directories writable so you can update components and upgrade the Magento software:
Step 1: First, sign in the Magento server.
Step 2: Navigate to the Magento installation directory.
Step 3: Enter the following command:
find app/code lib var generated vendor pub/static pub/media app/etc \( -type d -or -type f \) -exec chmod g+w {} + && chmod o+rwx app/etc/env.php
Q1. Why are file permissions important in Magento?
File permissions are essential for maintaining the security and smooth operation of your Magento store.
Q2. What are the recommended file permissions for Magento?
It’s generally advised to set file permissions to 644 for files and 755 for directories in Magento.
Q3. How do I set file permissions in Magento?
You can configure file permissions using FTP/SFTP clients or command-line tools like SSH.
Q4. What should I do if I encounter file permission errors in Magento?
If you face file permission errors, verify that the permissions align with Magento’s recommended settings.
Q5. Are there any security risks with incorrect file permissions in Magento?
Yes, incorrect file permissions can expose your Magento store to serious security vulnerabilities.
In short, setting Magento 2 file permissions is a great way to keep your store safe and secure. It limits certain actions for different groups of users, making sure that no one can surpass their authority and make harmful changes to the site.

Jacker is the Chief Technology Officer (CTO) at Mageplaza, bringing over 10 years of experience in Magento, Shopify, and other eCommerce platforms. With deep technical expertise, he has led numerous successful projects, optimizing and scaling online stores for global brands. Beyond his work in eCommerce development, he is passionate about running and swimming.
Related Post

Change Store Email Addresses - Mageplaza

Change Welcome Message - Mageplaza
Customize the welcome message on your store's homepage to provide a personalized touch for your customers. Improve the user experience with our step-by-step guide.

Configure Magento 2 Contact Form & Email: Detailed Guides - Mageplaza
Configure the email address for your Magento 2 store's contact form and ensure that your customers can easily get in touch with you with this informative guide

How to Install Magento 2 with Sample Data - Mageplaza
How to install Magento 2 with Sample Data. In this topic we will discuss about How to Install Magento 2 Step by Step in Manage Store topic

6 Steps To Stop Brute Force Attacks - Mageplaza
How To Stop Brute Force Attacks in Magento 1, 2. In this topic we will discuss about How To Stop Brute Force Attacks in Manage Store topic

How to set Locale, Language, and Country in Magento 2 - Mageplaza
Setup Locale State Country in Magento 2 provides setup your store information on Locale Options that determines the timezone, language, country and the days.
Change Store Email Addresses - Mageplaza
Change Welcome Message - Mageplaza
Customize the welcome message on your store's homepage to provide a personalized touch for your customers. Improve the user experience with our step-by-step guide.
Configure Magento 2 Contact Form & Email: Detailed Guides - Mageplaza
Configure the email address for your Magento 2 store's contact form and ensure that your customers can easily get in touch with you with this informative guide
How to Install Magento 2 with Sample Data - Mageplaza
How to install Magento 2 with Sample Data. In this topic we will discuss about How to Install Magento 2 Step by Step in Manage Store topic
6 Steps To Stop Brute Force Attacks - Mageplaza
How To Stop Brute Force Attacks in Magento 1, 2. In this topic we will discuss about How To Stop Brute Force Attacks in Manage Store topic
How to set Locale, Language, and Country in Magento 2 - Mageplaza
Setup Locale State Country in Magento 2 provides setup your store information on Locale Options that determines the timezone, language, country and the days.