


7 mins read
|
06-30-2026
Ways to Install Magento 2 Extension: 2025 Step-By-Step Guide
Vinh Jacker
|
03-17-2025


Magento 2 is known for its robust features, but unlocking its full potential requires installing the right extensions. These plugins enhance your store’s functionality, making it more user-friendly and cost-effective. Installing and enabling Magento add-ons is a quick process that can help you achieve your business goals in minutes.
If you’ve spent hours searching for the perfect Magento 2 extension only to encounter installation issues, you’re not alone. Many face similar challenges. This guide will walk you through installing Magento 2 extensions tailored to benefit your business. So get ready and discover with us great ways to download and install Magento to grow your business!
Magento Extension’s Benefits for E-commerce Stores

Magento is a powerful e-commerce platform, but out of the box, it might not cater to all your specific needs. This is where Magento extensions come in. Think of them as pre-built tools that seamlessly integrate with your store, unlocking a range of benefits:
-
Enhanced Functionality: Extensions add features your store might lack, like loyalty programs, live chat, or product recommendations, giving you a competitive edge.
-
Boosted User Experience: Create a frictionless shopping journey with extensions that streamline checkout, personalize product searches, or offer mobile-friendly interfaces.
-
Effortless Management: Simplify tasks like inventory control, customer service, and order processing with extensions that automate workflows and provide valuable data insights.
-
Sales & Marketing Magic: Boost your bottom line with extensions that integrate SEO tools, marketing automation platforms, and sales conversion features.
-
Cost-Effective Customization: Compared to custom development, extensions offer a budget-friendly way to tailor your store to your unique needs.
What You Need to Do Before Installing a Magento Extension

Following these steps will help you prepare your Magento environment for seamless extension installation without encountering unnecessary problems or conflicts:
Step 1: Choose a reliable extension partner
Always select Magento extensions from trustworthy sources to prevent conflicts and issues.
Step 2: Back up your magento store
Ensure you have the latest backup of your Magento production store. Run this command:
php bin/magento setup:backup --code --media --db
Alternatively, you can manually copy your Magento directory.
Step 3: Check PHP version compatibility
Verify if the extension requires a specific PHP version. Check your current PHP version using:
php -v
Step 4: Enable Maintenance Mode
Activate maintenance mode before installing the extension to prevent user issues. Use the command:
php bin/magento maintenance:enable.
Download Extensions for Magento 2: 3 Easy Ways
Having a lot of features in your online store is important for success in the fast-paced world of e-commerce. Magento 2, a powerful e-commerce tool, lets users add plugins to their stores to make them more useful. This post will show you 3 simple ways to get Magento 2 plugins that will help you improve your online store.
1. Download on Magento marketplace
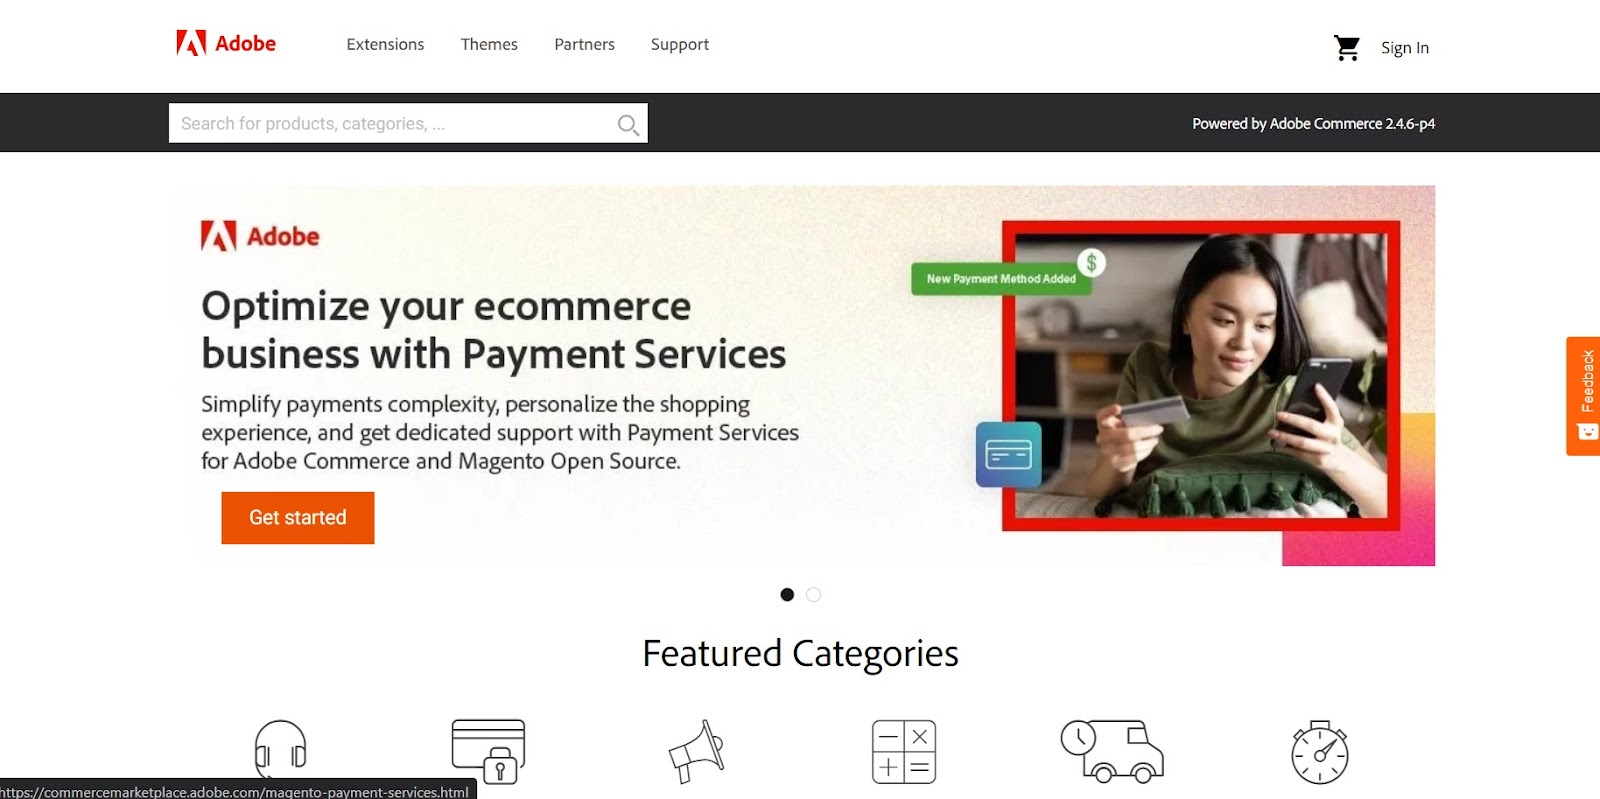
The Magento Marketplace by Adobe Commerce is a treasure trove of extensions designed to supercharge your online store. Developed by a vast network of certified providers, these extensions address a wide range of functionalities, from marketing automation and SEO optimization to advanced product customization and payment gateways.
Whether you’re looking to streamline your operations, enhance customer experience, or unlock new sales channels, the Magento Marketplace is your one-stop shop for e-commerce growth.
2. Download by GitHub
While Magento offers a robust set of features out-of-the-box, you can unlock even greater functionality by leveraging extensions from GitHub, a popular developer platform. These extensions can add everything from new payment gateways to advanced marketing tools.

The best thing about GitHub is how well it works with Composer, Magento’s tool for managing dependencies. This makes it easy to add and control plugins right from your Magento store.
3. Download from a third party provider
Even though Magento comes with a lot of useful features, third-party application companies make it even more useful. These companies create and sell specialized add-ons that meet specific needs.
For example, they might make marketing tools better, create reward programs, or add more ways to customize products. It’s possible to make your Magento store fit your business needs and the needs of your customers thanks to this huge environment.
How to Install Extensions for Magento 2
It’s not easy to add a Magento 2 Extension, but this article will show you the easiest ways to do it.
Use composer
To install the Mageplaza Ajax Layered Navigation extension through Composer, you’ll need to follow these steps:
Step 1: Connect to SSH
Access your computer through SSH. If not, go to a port on your local computer or ask your service provider for access.
Step 2: Check Composer Version
Verify your Composer version by running either composer -v or composer --version.
Note: Magento versions below 2.4.2 require Composer v1, while Magento 2.4.2 and above support Composer v1 and v2.
Step 3: Install Composer (if needed)
Install the necessary Composer version following the instructions on getcomposer.org if it’s not already installed.
Step 4: Install the Extension
Use the command composer require vendor name/module-name to install the extension. Replace vendor name/module-name with your extension’s details from GitHub or another source.
Step 5: Specify Extension Version
If necessary, specify the extension version compatible with your Magento store version to prevent compatibility issues. For example:
composer require mageplaza/module-google-recaptcha 4.0.0
Step 6: Marketplace Account (if required)
If the extension requires a Marketplace account, log in and generate access keys in your My Profile -> Marketplace tab.
Step 7: Update Changes
After installation, run the following commands to update changes:
php bin/magento setup:upgrade
php bin/magento setup:di:compile
php bin/magento setup:static-content:deploy -f
php bin/magento cache:flush
Step 8: Verify Functionality
Confirm that both your admin panel and front-end store are functioning correctly.
Use ZIP or Archive to upload
For this method to work, you need to use FileZilla or an SFTP connection to upload the files to the server. You can also open cPanel and go to File Manager to add the files right away. The following steps should be taken:
Step 1: Prepare for Installation
Connect to SFTP or FTP to do this, or use cPanel->Fil if you have a direct connection. On FileZilla, make a fresh connection with the following information for an FTP or SFTP connection:
-
Protocol: Opt for FTP or SFTP as the protocol.
-
Host: Your host
-
Logon Type: If you have given them, choose the key file or the password for SFTP connections.
-
Username: your username
-
Password: your password
You ought to ask your service providers for these usernames and passwords if you don’t already have them.
Step 2: Connect and Upload Files
-
Connect to your server using either an SFTP connection via tools like FileZilla or access cPanel > File Manager directly.
-
Use the provided credentials (Protocol, Host, Username, Password) to establish the connection.
-
Once connected, navigate to your Magento root directory, usually located at var/www/html/magento.
Step 3: Unzip and Upload
Unzip the extension folder on your local machine after downloading it.
Within the extracted files, locate the ‘app/code’ folder. Check its structure:
-
If the structure is app/code/VENDOR (e.g., Magefan), upload this folder to public_html/app/code.
-
If it’s app/code/Vendor/Module (e.g., Magefan/Blog) with subdirectories like Blocks, Controller, etc., upload the “Vendor” folder to public_html/app/code.
Step 4: Upload to Magento Directory
Upload the unzipped folder’s contents to the public_html/app/code directory on your server.
Note: If the ‘code’ folder doesn’t exist, create it manually and place the extension files inside. Magento extensions are typically installed in the ‘code’ folder.
Step 5: Execute Magento Commands
Connect to your server via SSH and navigate to the Magento root directory.
Run these commands one by one:
php bin/magento setup:upgrade
php bin/magento setup:di:compile
php bin/magento setup:static-content:deploy -f
These commands finalize the installation and update your Magento store configurations. Following these steps precisely will ensure a smooth and successful installation of the Magento extension via ZIP/Archive, enhancing your store’s functionality.
How to Uninstall an Extension
Unwanted extensions can clutter your Magento store. Here’s a clear guide to uninstalling them, whether you want a temporary disablement or complete removal.
Before you begin:
-
Enable Maintenance Mode: This prevents customers from accessing your store while you make changes. Search online for specific instructions on enabling maintenance mode for your Magento version.
-
Back up your store: It’s always a good practice to have a recent backup in case something goes wrong during the uninstall process.
Uninstalling the Extension:
There are two main ways to uninstall extensions, depending on how they were installed:
Method 1: Uninstalling Extensions Installed with Composer
Composer is a popular tool for managing Magento dependencies. Here’s how to uninstall extensions installed with Composer:
-
Log in to your server: Use SSH to connect to your server and navigate to the Magento root directory.
-
Run the uninstall command: Use the following command, replacing
<component-name>with the actual name of the extension:
composer remove [-r|–remove-data] <component-name>
- The
-ror--remove-dataoption removes any database data associated with the extension.
Example:
composer remove mageplaza/magento2-seo-extension
This command removes the mageplaza/magento2-seo-extension extension and its related database data (if the -r option is used).
Method 2: Uninstalling Extensions Installed Manually
Some extensions may be installed by manually uploading a zip file. Here’s how to uninstall them:
-
Disable the extension: Follow the steps in Method 1 (Step 1) to disable the extension.
-
Remove extension files: Navigate to the
app/codedirectory and delete the folder containing the extension’s files. -
Remove database entries: This step requires some database knowledge. You’ll need to identify and remove any records related to the extension in the
setup_moduletable.
Complete Uninstall with Command Line (Optional):
This method offers more options for a complete uninstall, including creating backups. It’s recommended for advanced users comfortable with the command line.
-
Connect to SSH and navigate to Magento root directory.
-
Run the uninstall command: Use the following command, replacing
<VendorName_ModuleName>with the actual name of the extension and adding any desired options:
php bin/magento module:uninstall [–backup-code] [–backup-media] [–backup-db] [-r|–remove-data] VendorName_ModuleName
--backup-code creates a backup of the extension’s code directory.
--backup-media creates a backup of the extension’s media directory.
--backup-db creates a backup of your database (recommended).
-r or --remove-data removes any database data associated with the extension.
Example:
php bin/magento module:uninstall --remove-data mageplaza/blog2
This command removes the mageplaza/blog2 extension, its related database data, and creates a backup of the extension’s code.
After Uninstallation:
- Run these commands:
php bin/magento setup:upgrade
php bin/magento setup:di:compile
php bin/magento setup:static-content:deploy -f
These commands help Magento recognize the changes and rebuild its cache.
-
Disable Maintenance Mode: Re-enable access to your store by disabling maintenance mode.
-
Test your store: Browse your store to ensure everything functions properly. Check the Magento logs for any errors if you encounter issues.
In our official Magento manual, you can find more information and steps for solving problems: How to Uninstall or Remove an Extension in Magento 2
To Wrap It Up
To make your combined Magento 2 store run faster and do more, you need to add extensions. Following the steps we talked about above will make it easy to install, set up, and update these add-ons. To get the most out of the tools, though, big businesses will have to hire a developer to keep software from clashing in the future.
Mageplaza has written this guide to give you all the basic information you need to do that. Before you start adding plugins to Magento 2, make sure you have a copy of all of your files and databases.
Table of content

Jacker is the Chief Technology Officer (CTO) at Mageplaza, bringing over 10 years of experience in Magento, Shopify, and other eCommerce platforms. With deep technical expertise, he has led numerous successful projects, optimizing and scaling online stores for global brands. Beyond his work in eCommerce development, he is passionate about running and swimming.
Related Post


How to Enable DebugView in GA4 for your Magento 2 store - Mageplaza
Step-by-step guide to enabling GA4 DebugView for Magento 2 merchants — verify your GA4 events are firing correctly before trusting your data.
8 mins read
|
06-09-2026

Table Rate Shipping in eCommerce: A Practical Guide
Master Magento 2 Table Rate Shipping. Learn how to configure an accurate, automated shipping matrix to optimize your checkout and boost sales.
10 mins read
|
06-02-2026
3 mins read
|
05-30-2026

Google Analytics Ecommerce Reports for Magento Merchants: What to track & Tips
A practical guide to GA4 ecommerce reports for Magento merchants, covering what to track, how to read each report, and specific tips to turn data into revenue decisions.
18 mins read
|
05-20-2026

5 Ways to Hide Products on Shopify (2026 Guide)
Explore the best 5 ways to hide products on Shopify. Learn how to manage visibility, protect pricing, and create a tailored shopping experience for buyers.
18 mins read
|
05-16-2026
7 mins read
|
06-30-2026
How to Enable DebugView in GA4 for your Magento 2 store - Mageplaza
Step-by-step guide to enabling GA4 DebugView for Magento 2 merchants — verify your GA4 events are firing correctly before trusting your data.
8 mins read
|
06-09-2026
Table Rate Shipping in eCommerce: A Practical Guide
Master Magento 2 Table Rate Shipping. Learn how to configure an accurate, automated shipping matrix to optimize your checkout and boost sales.
10 mins read
|
06-02-2026
3 mins read
|
05-30-2026
Google Analytics Ecommerce Reports for Magento Merchants: What to track & Tips
A practical guide to GA4 ecommerce reports for Magento merchants, covering what to track, how to read each report, and specific tips to turn data into revenue decisions.
18 mins read
|
05-20-2026
5 Ways to Hide Products on Shopify (2026 Guide)
Explore the best 5 ways to hide products on Shopify. Learn how to manage visibility, protect pricing, and create a tailored shopping experience for buyers.
18 mins read
|
05-16-2026