How to Create a Shopify App With Laravel

Creating a Shopify app can significantly enhance your Shopify store’s functionality and user experience. By leveraging the power of Laravel, a robust PHP framework, you can build a scalable and efficient Shopify app tailored to your specific needs. Laravel’s elegant syntax and comprehensive toolset make it a good choice for creating online applications, especially Shopify apps.

In this guide, we will explore the process of using Laravel to create a Shopify app. We’ll cover everything from setting up your development environment to integrating Shopify with Laravel, handling errors, and deploying your app. It will show you everything you need to know to build a Shopify app using Laravel, regardless of your level of developer experience. Let’s dive in!
Introducing Shopify App and Laravel
Laravel is a strong PHP framework that simplifies web development, making it more enjoyable and efficient for developers. Taylor Otwell introduced it in 2011, and it is rapidly becoming popular due to its sturdy features and modern look.
Laravel is a favorite among developers due to its comprehensive toolset and features that simplify development. With extensive documentation, an active community, and regular updates, Laravel ensures developers have the support and resources to build robust, scalable web applications.
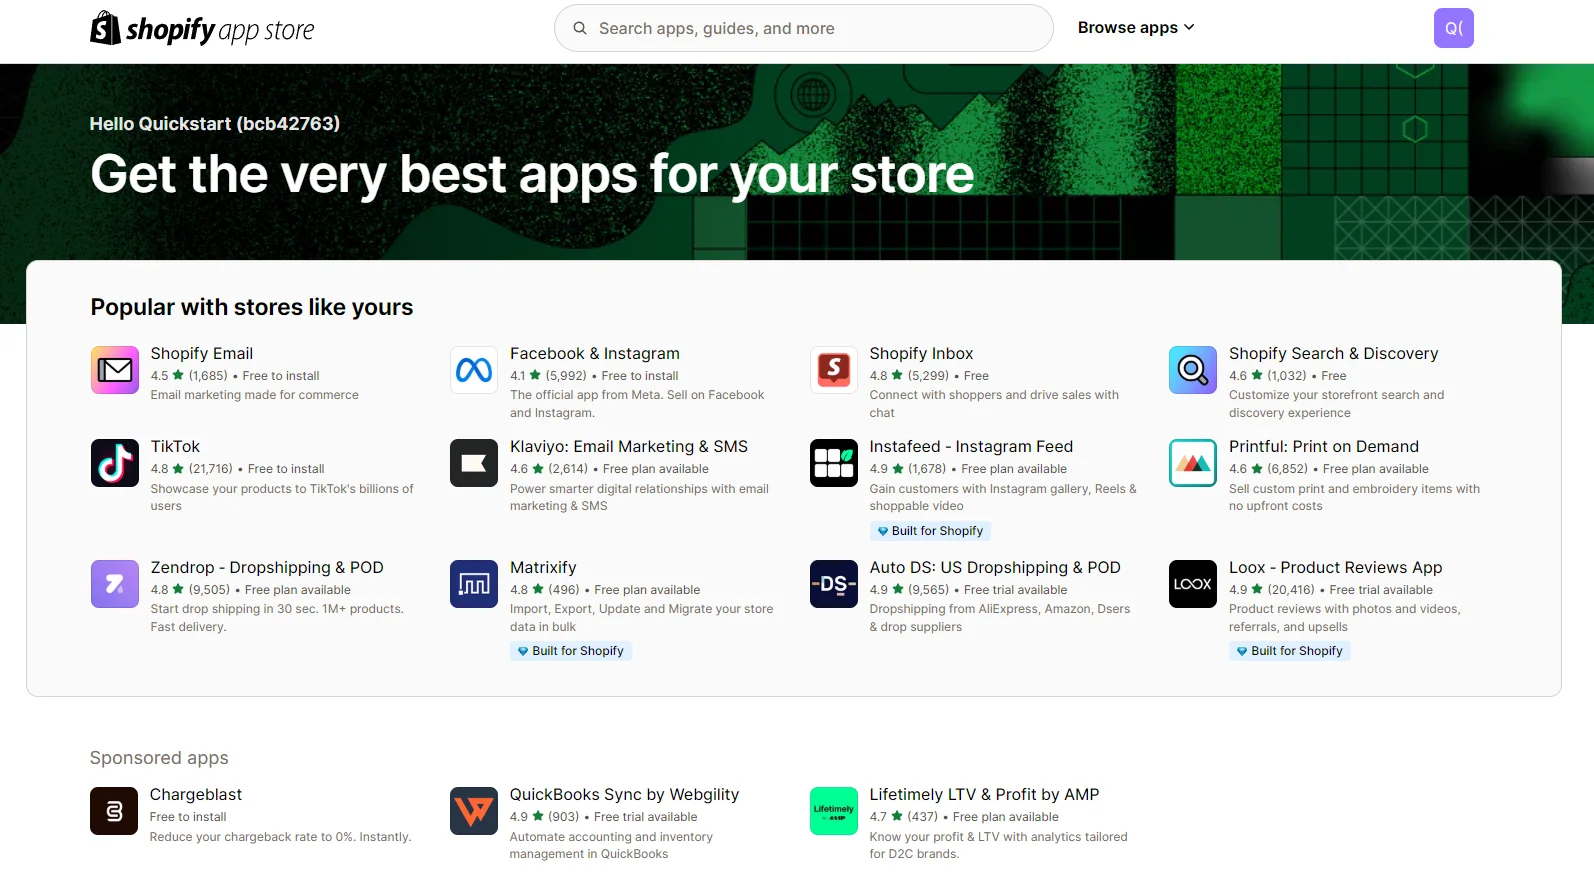
A Shopify app is an extension or add-on that integrates with Shopify stores, providing additional functionalities and extending the platform’s capabilities. It may be used for various purposes, such as product management, order management, customer engagement, analytics and reporting, etc.
Types of Shopify Apps

Shopify apps come in various types, each serving different purposes and catering to different needs. Here are the main types of Shopify apps:
1. Public Apps: These apps are available to all Shopify store owners through the Shopify App Store. Public apps are designed to address common needs and provide general functionality that can benefit a wide range of stores. They are further categorized into:
-
Listed Apps: These apps are visible in the Shopify App Store and can be found through search and category listings.
-
Unlisted Apps: These apps are not displayed in the Shopify App Store search results or categories. They can be installed via a direct link provided by the developer.
2. Custom Apps: Custom apps are specifically built for individual Shopify stores to meet unique requirements that public apps cannot fulfill. These applications are not available on the Shopify App Store but are ideal for businesses with specific needs. Custom apps can be created by the store owner or a developer and installed directly in the store.
3. Draft Apps: These apps are in the development stage and are used by Shopify Partners during the app creation process. Draft apps allow developers to test and refine features before the app is fully released.
Advantages of Building a Shopify App with Laravel
Using Laravel to manage your Shopify store offers several advantages:
- Customizability: Laravel gives you full control over the functionality of your Shopify store by enabling you to create highly customized solutions suited to your specific business requirements.
- Integration Capabilities: Laravel can easily integrate with various third-party services and APIs, enabling you to extend your store’s capabilities and streamline operations.
- Performance Optimization: Laravel’s performance optimization features, such as caching and query optimization, help ensure that your Shopify app runs smoothly and efficiently.
- Rapid Development: Laravel’s built-in tools and libraries accelerate the development process, allowing you to build and deploy your Shopify app faster.
- Maintainability: Laravel’s modular structure and clean codebase make maintaining and updating your Shopify app easier over time, ensuring long-term sustainability.
Laravel’s structure makes it ideal for building scalable Shopify apps. And when combined with a team that understands both frameworks, the development process becomes even more seamless. That’s why many merchants choose to work with our Shopify app development agency instead of building entirely in-house.
Why Choose Laravel for Managing Your Shopify Store?
Laravel is a prominent PHP framework that provides several benefits while creating Shopify apps. Here are some compelling reasons to choose Laravel for your Shopify app development:
- Elegant Syntax: Laravel’s syntax is clean and easy to understand, which simplifies the development process and reduces the likelihood of errors.
- Comprehensive Toolset: Laravel comes with a wide range of built-in tools and libraries, such as Eloquent ORM for database management, Blade templating engine, and Artisan command-line tool, which streamlines development tasks.
- Scalability: Laravel’s architecture is designed to handle large-scale applications, making it suitable for growing Shopify stores that require scalable solutions.
- Security: It offers robust security features, including protection against SQL injection, cross-site scripting (XSS), and cross-site request forgery (CSRF), ensuring that your Shopify app is secure.
- Community Support: Provides rich documentation, tutorials, and forums where developers can discuss ideas and seek support from a large and active developer community, all of which help to drive the platform’s continued growth.
- SEO Optimization: Provides various tools and packages that help optimize your Shopify app for search engines. To boost your app’s exposure in search engine results, you can easily edit meta tags, create SEO-friendly URLs, and use structured data.
- Marketing Automation: Laravel’s flexibility allows you to integrate powerful marketing automation tools. Your Shopify app allows you to create automated email campaigns, manage customer segmentation and measure marketing effectiveness.
How to Create a Shopify App Using Laravel

Step 1: Install Laravel: Create a new Laravel app project with this command line below:
composer require osiset/laravel-shopify
php artisan vendor:publish --tag=shopify-config
Step 2: Create Authentication Routes: Open routes/web.php and create a route to handle your new app’s homepage.
Route::get('/', 'ShopifyAppController@index');
Step 3: Create a Controller: Generate a controller to handle the logic for installation and authentication:
php artisan make:controller ShopifyController
In app/Http/Controllers/ShopifyController.php, add methods for index:
<?php
namespace App\Http\Controllers;
use Illuminate\Http\Request;
class ShopifyAppController extends Controller
{
    public function index(Request $request)
    {
        // Add your Shopify API logic here
        return view('shopify.index');
    }
}
Step 4: Create a Blade View:
Create a view file to display products.
Create a directory resources/views/shopify along with a file named index.blade.php.
<!DOCTYPE html>
<html>
<head>
    <title>Shopify App</title>
</head>
<body>
    <h1>Shopify Products</h1>
    <ul>
        @foreach ($products as $product)
            <li></li>
        @endforeach
    </ul>
</body>
</html>
Step 5: Install Required Packages:
Install Guzzle HTTP client in order to create requests to Shopify’s API with this command:
composer require guzzlehttp/guzzle
Step 6: Add Shopify API Logic:
After you requested Shopify’s API in step 5, it’s time to add the logic to fetch your products using Shopify API. You’ll need to do this step in the ShopifyAppController.
public function index(Request $request)
{
    // Replace with your Shopify store credentials
    $shopifyStore = 'your-shopify-store.myshopify.com';
    $apiKey = 'your-api-key';
    $apiPassword = 'your-api-password';
    // Make a request to Shopify's API to get products
    $client = new \GuzzleHttp\Client();
    $response = $client->get("https://$shopifyStore/admin/api/2021-07/products.json", [
        'auth' => [$apiKey, $apiPassword]
    ]);
    $products = json_decode($response->getBody(), true)['products'];
    return view('shopify.index', compact('products'));
}
Step 7: Create a New App in Shopify: Navigate to Shopify Partner dashboard and create a new app. Provide the API key and password.
Step 8: Testing and Deployment:
Start your Laravel server:
php artisan serve
Install Your App on Shopify to check if it works properly
Handling Errors and Exceptions in Laravel-Shopify Integration

When integrating Laravel with Shopify, efficiently managing errors and exceptions is essential to provide a pleasant user experience and the reliability of your application. Here’s how you can manage errors and exceptions in your Laravel-Shopify integration:
Common Errors: When integrating Laravel with Shopify, developers may encounter several common errors. These can include issues with API authentication, incorrect API endpoints, rate limiting, and data validation errors. Understanding these common pitfalls can help in diagnosing and resolving issues more efficiently.
Laravel’s Built-In Exception Handling: Laravel comes with a strong system for managing errors and exceptions. Whenever an exception is thrown during your application’s runtime, Laravel automatically catches and handles it. You can adjust how these exceptions are logged and shown to users by modifying the App\Exceptions\Handler class.
Logging: Always log errors & exceptions using Laravel’s built-in logging system. Store error messages in log files, and configure the logging channels and levels in the config/logging.php file.
API Error Handling: The Shopify API communicates errors through response codes and JSON structures. Parse API responses and check for error codes. Extract error messages and relevant details to inform appropriate user feedback or logging.
HTTP Status Codes: Check the response status code. For successful requests, the status code will typically be in the 200 range. For errors, you might encounter codes like 400 (Bad Request), 401 (Unauthorized), 404 (Not Found), or 500 (Internal Server Error).
use Illuminate\Support\Facades\Http;

try {
    $response = Http::get('https://shopify-api-url.com');
    $response->throw();
} catch (\Exception $e) {
    // Handle HTTP errors here
}
Retry Logic: Consider implementing retry logic for transient errors (e.g., network issues). However, avoid excessive retries to prevent infinite loops.
Testing Error Handling: To ensure your error-handling mechanisms are functioning correctly, write unit tests and integration tests. Laravel’s testing framework offers tools to simulate exceptions and errors during testing.
Watch Out for Shopify Rate Limits: Keep Shopify’s rate-limiting rules in mind. If you send too many requests in a short period, Shopify might limit your rate. Handle this by checking the response headers for the retry-after time and pausing your requests until then.
Custom Middleware for Exception Handling: You can create your own middleware in Laravel to manage specific exceptions or errors in a unique way. This is useful if you want to redirect users to different error pages or handle errors in a particular manner.
Monitoring and Warning: To be informed when there are serious problems with your Shopify connection, set up alerting and monitoring systems. This is when tools like Sentry, Laravel Horizon, and bespoke solutions come in handy.
FAQs
Q1: Why should I use Laravel to build a Shopify app?
A: Laravel offers several advantages for building Shopify apps, including efficiency, scalability, security, and strong community support. Its MVC architecture, Eloquent ORM, Blade templating engine, and Artisan CLI make development easier and more organized.
Q2: What occurs if the version of the Shopify API is changed? Will the Laravel application crash?
A: If the Shopify API version changes, it can impact your Laravel app, especially if it relies on features or endpoints that have been modified or deprecated in the new version. Here are a few steps to mitigate this risk:
- Stay Updated: Regularly check Shopify’s API release notes and announcements to stay informed about upcoming changes.
- Versioning: To ensure stability, use versioned API endpoints in your app. Shopify provides versioned APIs, allowing you to specify your app’s version.
- Testing: Test your app in a staging environment using the most recent version of the API before implementing the new version to find and address any bugs.
- Error Handling: Implement robust error handling to manage unexpected changes or errors resulting from API updates gracefully.
- Documentation: For guidance on updating your app to be compatible with the latest API version, refer to Shopify’s API documentation.
Q3: How do I secure API keys in Laravel?
A: Store API keys and secrets securely using environment variables. Avoid hardcoding sensitive information in your codebase to prevent unauthorized access.
Conclusion
Building a Shopify app with Laravel offers a powerful combination of flexibility, efficiency, and scalability. By leveraging Laravel’s robust features and Shopify’s extensive API, developers can create highly customized and functional apps that enhance the capabilities of Shopify stores. Throughout this guide, we’ve explored the fundamentals of Shopify apps, the benefits of using Laravel, and provided a step-by-step approach to integrating the two platforms.
Whether you’re looking to add new features to your Shopify store, automate tasks, or provide a better shopping experience for your customers, building a Shopify app with Laravel is a great choice. If you have the necessary resources and expertise, you may create an app that serves your business’s needs and advances your objectives.


![Top 20+ Must-have Shopify Apps for 2025 [Free & Paid] - Mageplaza](https://cdn2.mageplaza.com/media/blog/must-have-shopify-apps/top-must-have-shopify-apps.png)
![[2025 Updates] Top 10+ Upsell Apps for Shopify - Mageplaza](https://cdn2.mageplaza.com/media/blog/best-upsell-shopify-app/cover.png)