


6 mins read
|
06-30-2026
How to Create a Custom Module in Magento 2 with 5 Steps
Vinh Jacker
|
03-17-2025

According to eMarketer’s projections, retail ecommerce sales are anticipated to escalate from $4.938 trillion in 2021 to $7.391 trillion by 2025. To capitalize on this growth, acquiring the skill to develop a personalized module in Magento 2 can significantly enhance sales by incorporating unique functionalities into your online store.
A Magento module serves as a cohesive unit containing blocks, controllers, helpers, and models tailored to a specific business aspect, like shipping or payment. Its fundamental objective is to augment or introduce features without compromising the integrity of the Magento codebase.
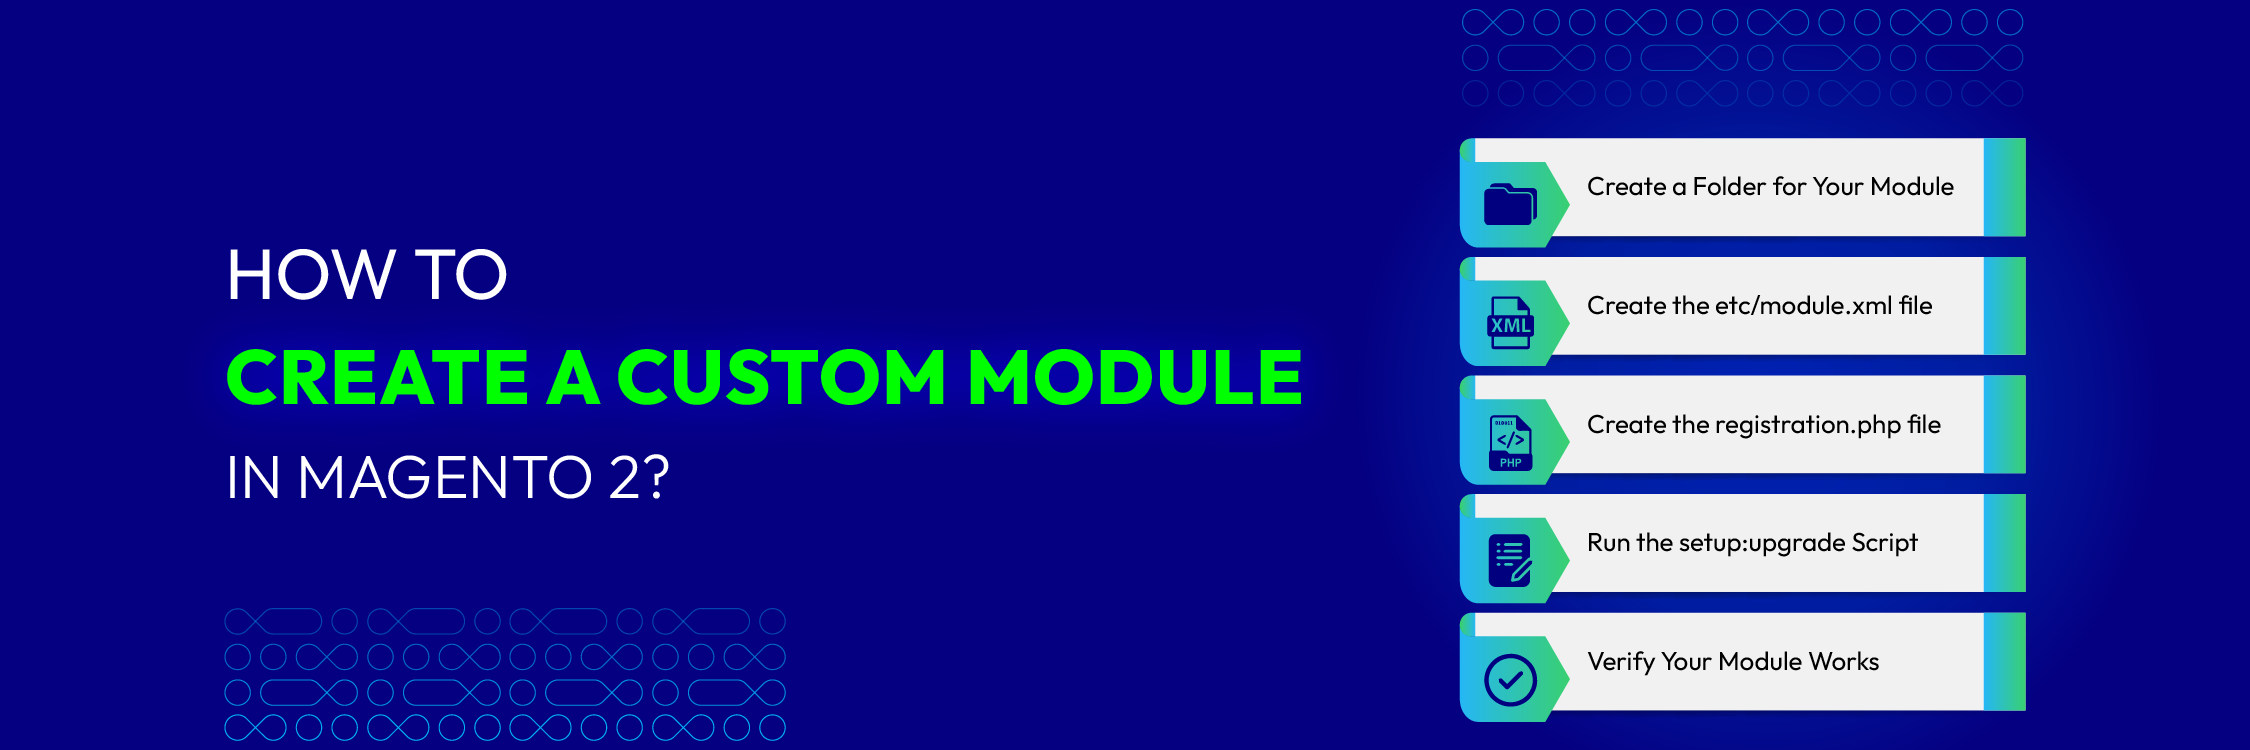
In this guide, we will outline five fundamental steps of how to create a custom module in Magento 2. Let’s explore!
Step 1: Create a Folder for Your Module
In Magento 2, the folder containing modules can typically be found in either the app/code directory or the vendor directory. Depending on the installation method of Magento 2, core modules may reside in vendor/magento/magento-* directories (for composer installations) or in the app/code/Magento/ directory (for GitHub clones).
When deciding where to place a new module:
- For project-specific modules, it’s advisable to opt for the app/code directory and commit the module to the project’s repository.
- For reusable extensions, it’s recommended to use composer to create the module and place it in the vendor/
/module-something directory.
In Magento 2, module names consist of two parts: the vendor name and the module name itself. Modules are organized into vendors, requiring you to define both the vendor and module names. For example, let’s name the vendor ‘Mageplaza’ and the module ‘Customize’.
To create the necessary folder structure, follow these steps:
- Navigate to the root folder using the command line.
- Create the directories using the following commands:
mkdir app/code/Mageplaza
mkdir app/code/Mageplaza/Customize
Note: Ensure you have appropriate permissions to create files and folders in your Magento installation.
Next, you need to create an etc/module.xml file for the module to exist. This file contains essential information such as the module name, version, and dependencies.
The module name corresponds to the folders created earlier. In Magento 2, class names must adhere to the folder structure. For example, with folders Mageplaza/Customize, the module name becomes Mageplaza_Customize, and all module classes begin with Mageplaza\Customize (e.g., Mageplaza\Customize\Observer\Test).
The module version indicates the current version of the module’s database schema and data. Versioning allows tracking database changes via install and upgrade scripts provided by Magento 2.
To create the etc directory and module.xml file:
Use the following command-line code:
mkdir app/code/Mageplaza/Customize/etc
Place the following code in the module.xml file:
<?xml version="1.0"?>
<config xmlns:xsi="http://www.w3.org/2001/XMLSchema-instance" xsi:noNamespaceSchemaLocation="urn:magento:framework:Module/etc/module.xsd">
    <module name="Mageplaza_Customize" setup_version="0.0.1">
        <sequence>
            <module name="Magento_Catalog"/>
        </sequence>
    </module>
</config>
This XML file specifies the module name, setup version, and any dependencies, such as Magento_Catalog.
Step 2: Create the etc/module.xml file
Once you’ve established the new module directory, it’s necessary to craft the etc/module.xml file, detailing the module name, version, and dependencies.
The module’s name derives from the previously created folders. Given that we’ve named our folders Mageplaza/Customize, our module will be denoted as ‘Mageplaza_Customize.’
The module version denotes the current state of the database schema and data. Should you modify the table schema within your module, updating the module version ensures synchronization across all instances of your code within the Magento application.
For our current module, we’ll set the initial version as 0.0.1.
Module dependencies outline any additional modules upon which your custom module relies. In this instance, we’ll establish a dependency on Magento’s core catalog module.
Begin by crafting the etc/ folder within your module directory using the following command:
$ mkdir app/code/Mageplaza/Customize/etc
Subsequently, generate the module.xml file utilizing the nano text editor as follows:
$ nano app/code/Mageplaza/Customize/etc/module.xml
Finally, insert the following code into the file:
<?xml version="1.0"?>
<config xmlns:xsi="http://www.w3.org/2001/XMLSchema-instance" xsi:noNamespaceSchemaLocation="urn:magento:framework:Module/etc/module.xsd">
    <module name="Mageplaza_Customize" setup_version="0.0.1">
        <sequence>
            <module name="Magento_Catalog"/>
        </sequence>
    </module>
</config>
You can extend module dependencies by including additional
Step 3: Create the registration.php file
To proceed with creating a custom module in Magento 2, the next step involves crafting the registration.php file within the module’s root directory. This file facilitates Magento in locating the module within its filesystem.
Execute the following command to generate the registration.php file using the nano text editor within the module’s root directory path:
$ nano app/code/Mageplaza/Customize/registration.php
Subsequently, insert the provided content:
<?php

use Magento\Framework\Component\ComponentRegistrar;

ComponentRegistrar::register(
    ComponentRegistrar::MODULE,
    'Mageplaza_Customize',
    __DIR__
);
This code snippet utilizes the ComponentRegistrar::register() method to register the custom module. The arguments passed to this method include:
- ComponentRegistrar::MODULE: Indicates the type of component being registered, in this case, a Magento module.
- Mageplaza_Customize: Specifies the module’s unique identifier.
- __DIR__: Resolves to the current directory path, effectively pointing to the root directory of the custom module.
Save the file once you’ve inserted the content by pressing Ctrl + O and then exit the nano text editor by pressing Ctrl + X.
Step 4: Run the setup:upgrade Script
After creating the simple module, the final step in learning how to create a custom module in Magento 2 is activation. You can accomplish this by running the following command from the Magento project root:
$ php bin/magento setup:upgrade
This command performs two essential tasks:
- Registers the custom module in Magento.
- Upgrades the Magento Database Schema and data to accommodate any changes introduced by the newly installed module.
Executing this command ensures that your custom module becomes active within the Magento application environment.
Step 5: Verify Your Module Works
As of now, our module remains devoid of any meaningful code—it remains empty. To confirm its recognition, we can inspect the app/etc/config.php file, which contains a roster of auto-generated active modules. Use the command grep Mageplaza_Customize app/etc/config.php to search for our module’s presence.
These steps pave the way for successfully creating a new custom module in Magento 2.
Table of content

Jacker is the Chief Technology Officer (CTO) at Mageplaza, bringing over 10 years of experience in Magento, Shopify, and other eCommerce platforms. With deep technical expertise, he has led numerous successful projects, optimizing and scaling online stores for global brands. Beyond his work in eCommerce development, he is passionate about running and swimming.
Related Post


How to Enable DebugView in GA4 for your Magento 2 store - Mageplaza
Step-by-step guide to enabling GA4 DebugView for Magento 2 merchants — verify your GA4 events are firing correctly before trusting your data.
8 mins read
|
06-09-2026

Table Rate Shipping in eCommerce: A Practical Guide
Master Magento 2 Table Rate Shipping. Learn how to configure an accurate, automated shipping matrix to optimize your checkout and boost sales.
10 mins read
|
06-02-2026
3 mins read
|
05-30-2026

Google Analytics Ecommerce Reports for Magento Merchants: What to track & Tips
A practical guide to GA4 ecommerce reports for Magento merchants, covering what to track, how to read each report, and specific tips to turn data into revenue decisions.
18 mins read
|
05-20-2026

5 Ways to Hide Products on Shopify (2026 Guide)
Explore the best 5 ways to hide products on Shopify. Learn how to manage visibility, protect pricing, and create a tailored shopping experience for buyers.
18 mins read
|
05-16-2026
6 mins read
|
06-30-2026
How to Enable DebugView in GA4 for your Magento 2 store - Mageplaza
Step-by-step guide to enabling GA4 DebugView for Magento 2 merchants — verify your GA4 events are firing correctly before trusting your data.
8 mins read
|
06-09-2026
Table Rate Shipping in eCommerce: A Practical Guide
Master Magento 2 Table Rate Shipping. Learn how to configure an accurate, automated shipping matrix to optimize your checkout and boost sales.
10 mins read
|
06-02-2026
3 mins read
|
05-30-2026
Google Analytics Ecommerce Reports for Magento Merchants: What to track & Tips
A practical guide to GA4 ecommerce reports for Magento merchants, covering what to track, how to read each report, and specific tips to turn data into revenue decisions.
18 mins read
|
05-20-2026
5 Ways to Hide Products on Shopify (2026 Guide)
Explore the best 5 ways to hide products on Shopify. Learn how to manage visibility, protect pricing, and create a tailored shopping experience for buyers.
18 mins read
|
05-16-2026