


5 mins read
|
07-30-2026
Magento WordPress Integration Tutorial
Vinh Jacker
|
03-17-2025

Struggling to attract customers with limited product information on your Magento store? Reviews and blog posts that are interesting to read are key to keeping customers coming back and making purchases right now!
The good news is, that you can combine the power of Magento’s e-commerce features with WordPress’s user-friendly content management system (CMS) to create a dynamic online presence. This guide will show you how to seamlessly connect Magento and WordPress for a winning e-commerce strategy.
What is Magento WordPress Integration?
Magento and WordPress are two popular platforms that can be strong assets for an online business. WordPress is a CMS (content management system) that is used to make websites and blogs, while Magento is an eCommerce platform that is used to make e-commerce stores. Magento WordPress integration combines the strengths of both platforms, allowing you to have a feature-rich online store with a content-driven website.
There are two main ways to achieve Magento WordPress integration:
- Install WordPress on Magento: This method involves installing a plugin that essentially creates a WordPress blog within your Magento store.
- Installing Magento on WordPress: By installing Magento as a plugin or extension, you can access its robust e-commerce features within your WordPress environment. This method is suitable for WordPress users who prioritize simplicity and prefer managing all aspects of their website within the WordPress dashboard.
Benefits of the Magento WordPress Integration
Integrating Magento with WordPress offers a range of benefits, enhancing both the functionality and user experience of your online presence. Here’s why you should consider integrating Magento with WordPress:
-
Seamless User Experience: By linking the products you talk about on your blog on WordPress straight to the checkout page on your Magento store, you make the shopping experience smooth for visitors, which makes it more likely that they will buy.
-
Consistent Branding: Integrating the theme and content of both Magento and WordPress sites ensures a consistent user experience, reinforcing brand identity and improving brand recall.
-
Enhanced SEO: Leveraging WordPress’s robust SEO tactics and plugins can optimize your Magento store for search engines, driving more organic traffic and improving visibility.
-
Convenience for Customers: Implementing a single sign-on for Magento and WordPress eliminates the need for customers to enter login information multiple times, enhancing convenience and user satisfaction.
-
Access to Magento Cart: Visitors on your WordPress site can easily access their Magento cart and view associated information, such as the number of products added, by seamlessly integrating Magento blocks into your WordPress theme.
Steps for Magento WordPress Integration
You need to set clear goals, pick the right integration tool, set up the settings, try the integration, and keep an eye on speed if you want to successfully connect Magento to a WordPress site.
Here is a step-by-step guide on how to connect your online store to your content management system (CMS). This will give your users a better and more unified experience.
Method 1: Installing WordPress on Magento
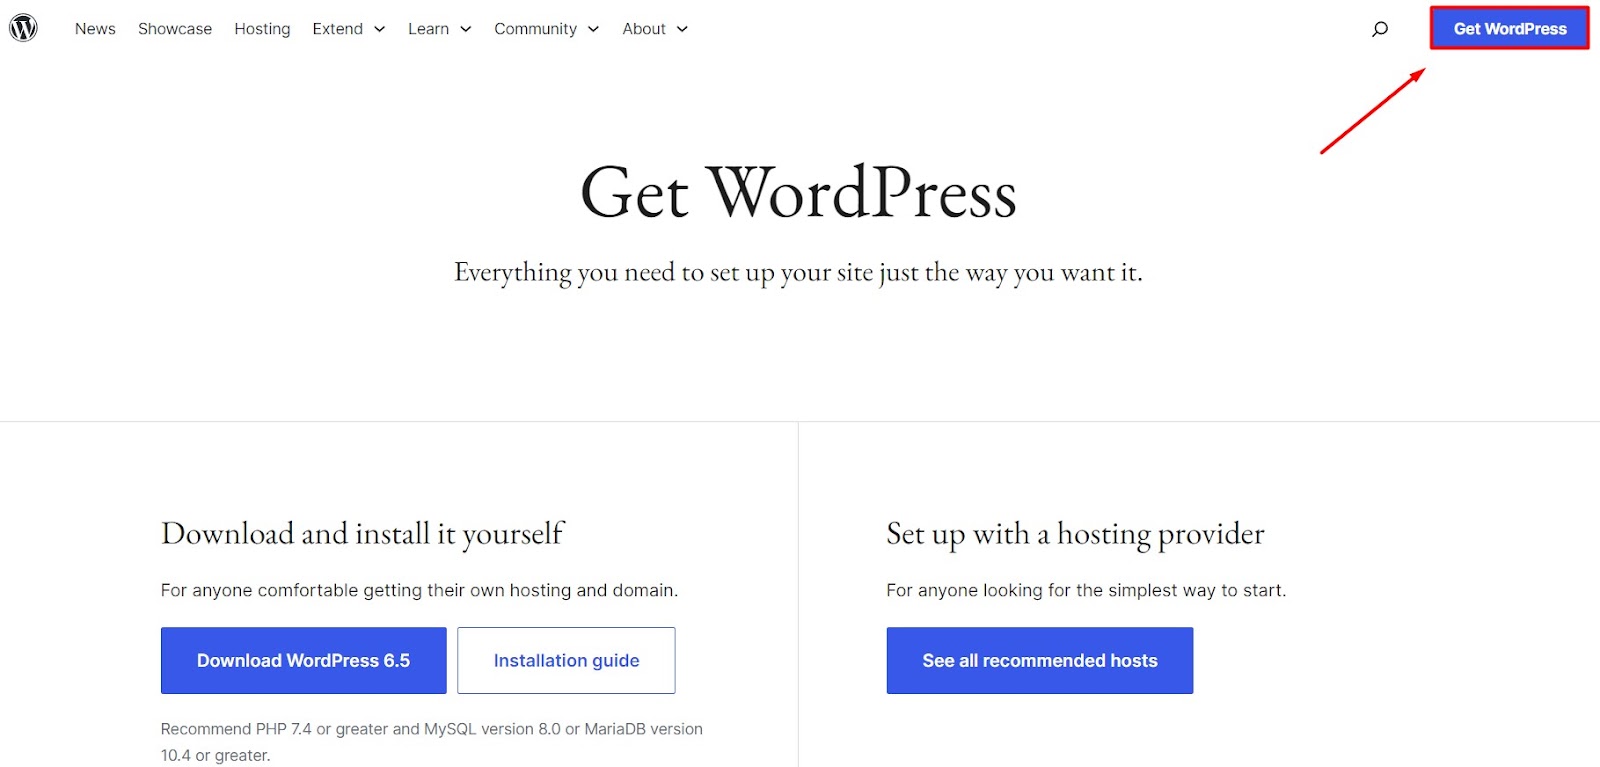
1. Install WordPress on Your Magento Store:
- Download the Latest WordPress: Visit the official WordPress website and grab the latest version.
- Upload the file: Go to your Magento 2 store installation folder, then drag in the new WordPress installation folder that you downloaded.
- Renaming (optional): Magento suggests renaming the extracted folder to “
wp” for better organization. However, this step is entirely optional, just avoid using a name you want for your blog’s URL (e.g., “blog”). - Complete WordPress Installation: Visit
yourstore.com/wp/(replace “wp” with your chosen folder name) in your web browser. This will initiate the standard WordPress installation process. Follow the on-screen instructions to set up your blog.
2. Installing the FishPig Integration (Optional):
The free setup above offers basic integration. Here’s a quick installation guide (if you choose to use it):
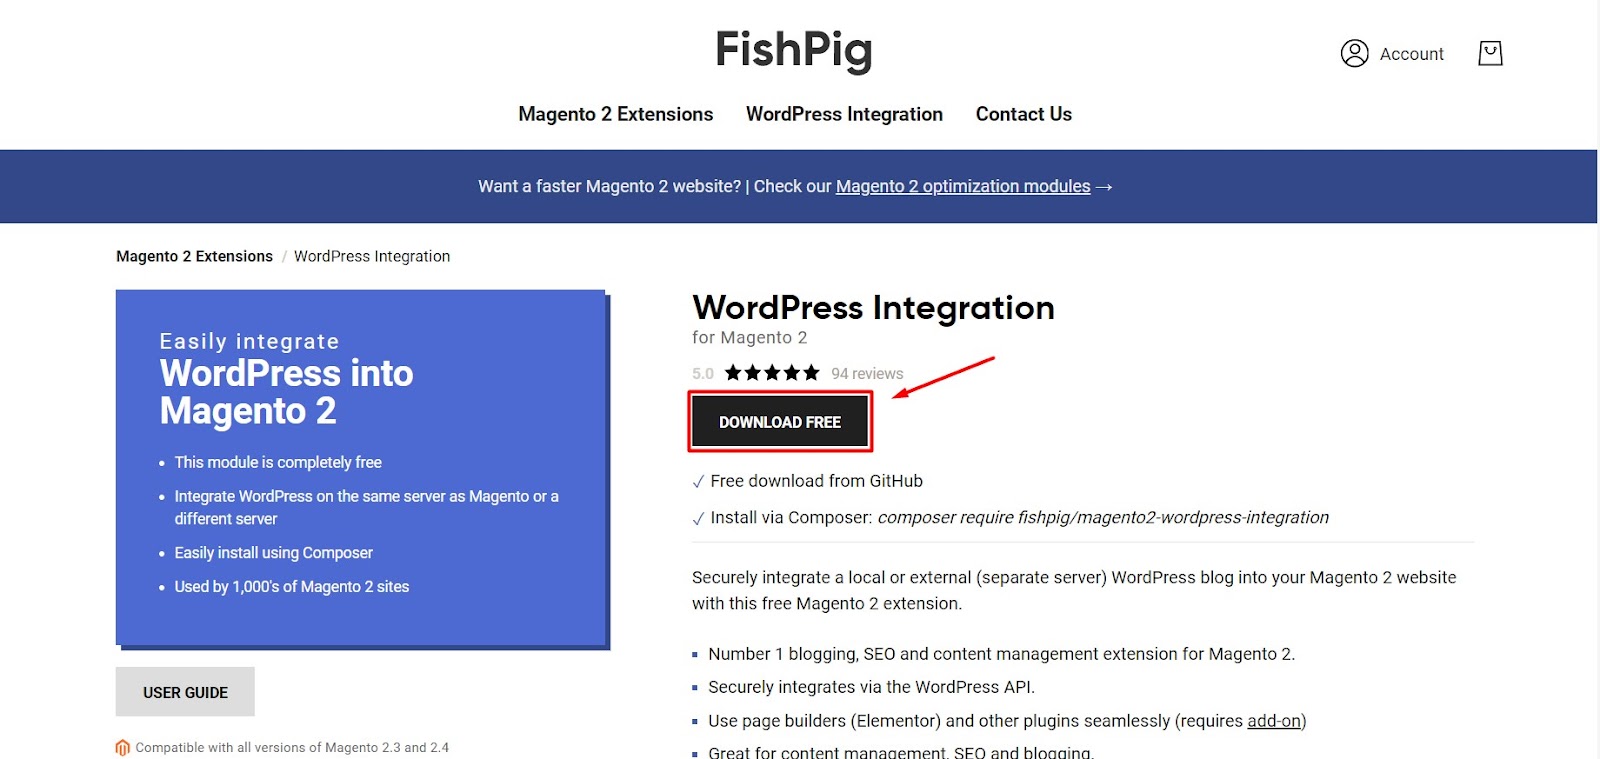
https://fishpig.com/magento-2-wordpress-integration
-
Extract and Copy Files: Download and extract the FishPig extension. You should copy the file that has been removed and put it into your Magento installation’s
app/code/FishPig/WordPressdirectory. -
Activate the Extension: Open your terminal and navigate to your Magento directory. Run the following command to activate the extension:
php bin/magento module:enable FishPig_WordPress
3. Configuring WordPress Settings:
Log in to your admin panel of Magento and go to WordPress > Settings. Here, you can configure various aspects of the integration, including:
- Database Settings: Specify how your Magento and WordPress databases interact.
- Theme Sharing: Decide if you want to use your Magento theme on your WordPress blog.
- Blog URL: Choose the URL for your blog (e.g.,
yourstore.com/blog/). - WordPress Installation Path: Enter the name of the folder where you installed WordPress (likely “
wp” if you followed step 1).
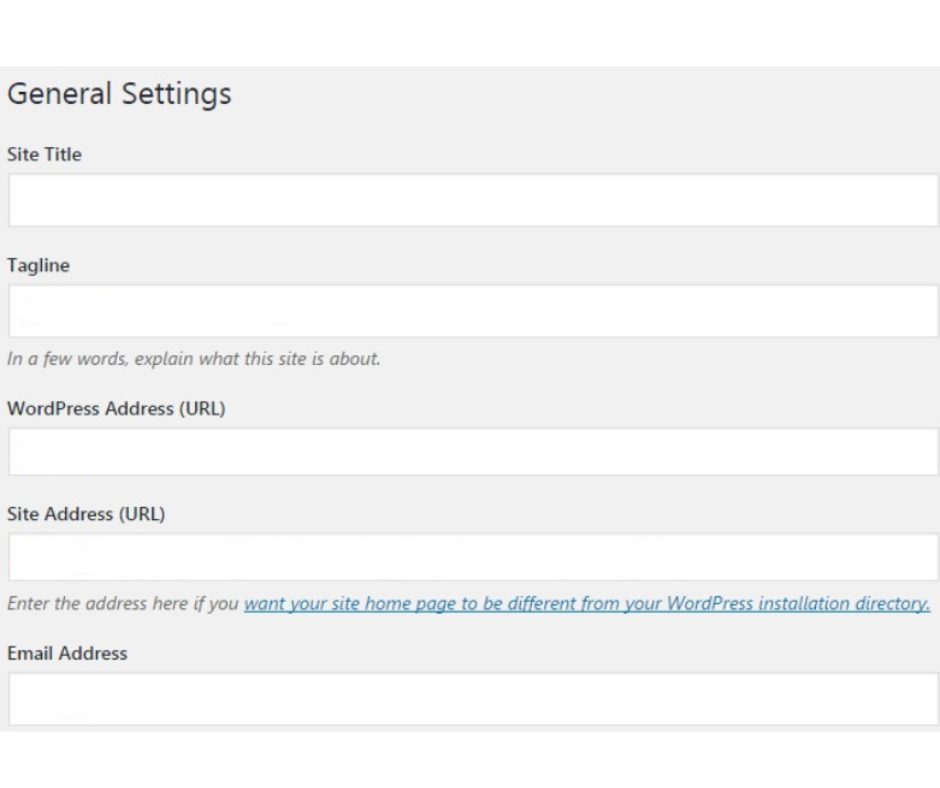
4. Adjusting WordPress URL:
If you want your WordPress admin panel to reflect your Magento store’s URL, navigate to Settings > General in your WordPress dashboard. Update the Site Address (URL) field with your Magento website’s URL, including the subdirectory for your blog (e.g., yourstore.com/blog/).
5. Restore Existing Blog (Optional):
If you have a pre-existing WordPress blog you want to integrate, utilize plugins like All-in-One Migration to restore a backup onto your Magento store.
Remember: You should consult the documentation provided by your chosen plugins or extensions for the most up-to-date and specific steps.
Method 2: Installing Magento on WordPress
This method works best if:
- You already have a WordPress website.
- You also have a Magento store (but maybe it’s not quite ready yet).
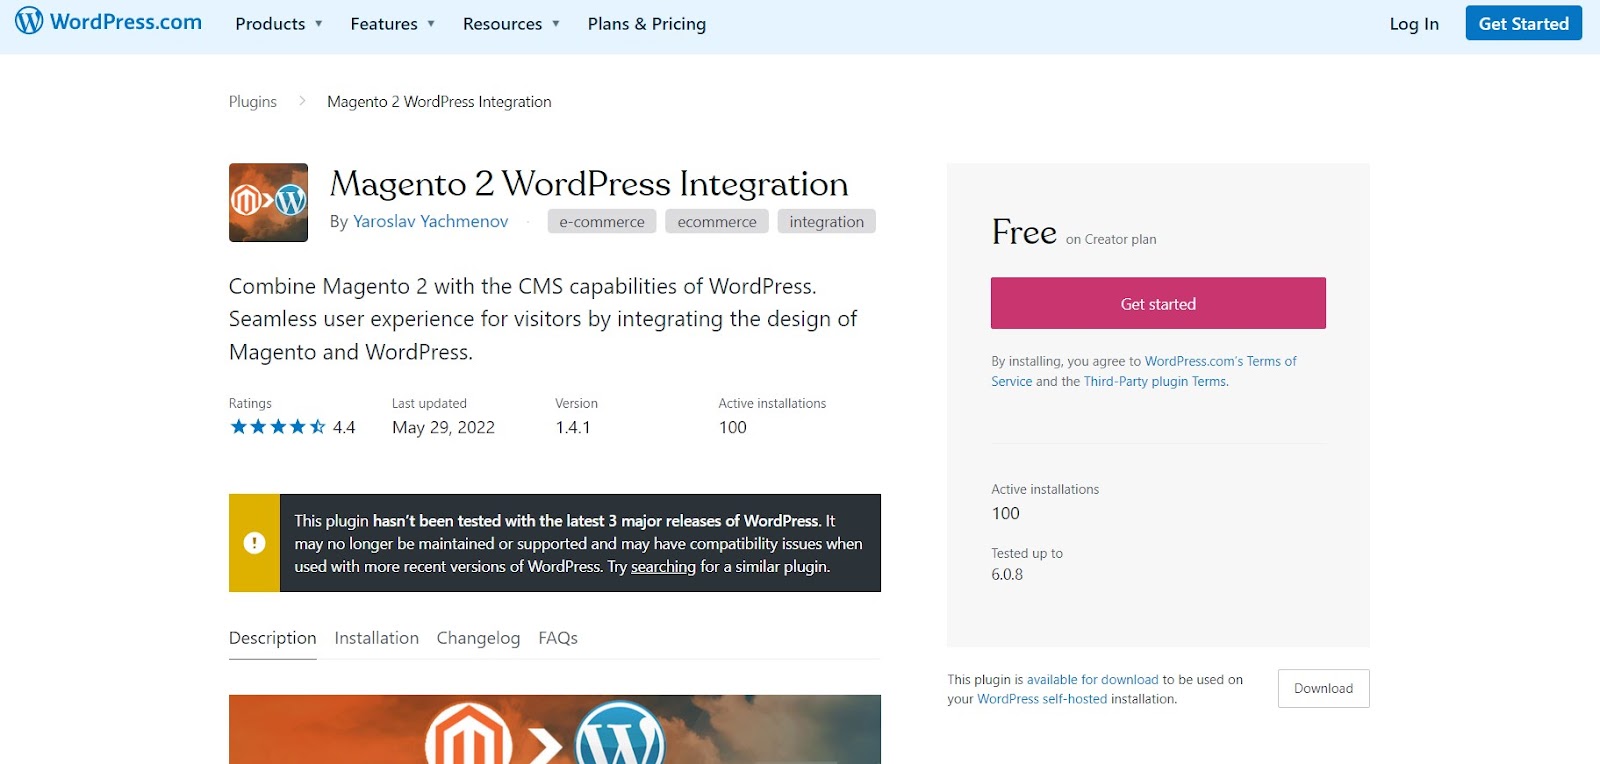
Here’s what you’ll need:
- A special plugin called “M2WP” by Modern Modules (think of it like an adapter)
- Some technical know-how (or a friend who does!)
Steps by step installing Magento on WordPress
1. Download the M2WP Plugin
Find the M2WP plugin online and download it to your computer.
2. Install the Plugin
There are two ways to do this:
- Through WordPress: Go to your WordPress admin panel (where you manage your website) > Plugins > Add New > Upload Plugin > choose the M2WP file you downloaded. Click “Install Now” and then “Activate”. (Think of uploading the adapter to your WordPress house)
- Using FTP: This is a more technical way. You’ll need a program called an FTP client. Not recommended unless you’re comfortable with code.
3. Activate the Plugin: Click “Activate” next to the M2WP extension in your list of plugins after installing it in any way you select.
4. Follow the Plugin’s Instructions: The M2WP plugin will have its own set of instructions to configure it. These will be located inside the plugin’s Settings page within your WordPress admin panel. (The adapter might have a little instruction manual, you can follow that!)
Remember:
- This method only works if your WordPress and Magento are on the same database (like having both the adapter and the device you want to connect plugged into the same outlet).
- Building a Magento store can be tricky, so if yours isn’t ready yet, don’t worry! You can focus on your WordPress site for now and have a developer build your Magento store later.
- Using WordPress effectively takes some practice. If you’re new to it, you can consider getting help from a professional. (Just like using any new tool, it might be easier to ask a friend who knows how to use it!)
By following these steps, you’ll be well on your way to creating a dynamic website that merges the power of an online store with the engaging content of a blog. This winning combination can significantly boost your sales and brand awareness!
Table of content

Jacker is the Chief Technology Officer (CTO) at Mageplaza, bringing over 10 years of experience in Magento, Shopify, and other eCommerce platforms. With deep technical expertise, he has led numerous successful projects, optimizing and scaling online stores for global brands. Beyond his work in eCommerce development, he is passionate about running and swimming.
Related Post

7 mins read
|
06-30-2026

How to Enable DebugView in GA4 for your Magento 2 store - Mageplaza
Step-by-step guide to enabling GA4 DebugView for Magento 2 merchants — verify your GA4 events are firing correctly before trusting your data.
8 mins read
|
06-09-2026

Table Rate Shipping in eCommerce: A Practical Guide
Master Magento 2 Table Rate Shipping. Learn how to configure an accurate, automated shipping matrix to optimize your checkout and boost sales.
10 mins read
|
06-02-2026
3 mins read
|
05-30-2026

Google Analytics Ecommerce Reports for Magento Merchants: What to track & Tips
A practical guide to GA4 ecommerce reports for Magento merchants, covering what to track, how to read each report, and specific tips to turn data into revenue decisions.
18 mins read
|
05-20-2026
5 mins read
|
07-30-2026
7 mins read
|
06-30-2026
How to Enable DebugView in GA4 for your Magento 2 store - Mageplaza
Step-by-step guide to enabling GA4 DebugView for Magento 2 merchants — verify your GA4 events are firing correctly before trusting your data.
8 mins read
|
06-09-2026
Table Rate Shipping in eCommerce: A Practical Guide
Master Magento 2 Table Rate Shipping. Learn how to configure an accurate, automated shipping matrix to optimize your checkout and boost sales.
10 mins read
|
06-02-2026
3 mins read
|
05-30-2026
Google Analytics Ecommerce Reports for Magento Merchants: What to track & Tips
A practical guide to GA4 ecommerce reports for Magento merchants, covering what to track, how to read each report, and specific tips to turn data into revenue decisions.
18 mins read
|
05-20-2026