
How to integrate Shopzilla with Magento 2
Table of content
What is Shopzilla
Shopzilla is a popular price comparison service. This service (also known as shopping comparison website) allows an individual to search and view the product list which is provided by different suppliers in one site. It provides a website where all merchants can supply their goods – similar to a real market in your neighborhood, just on the Internet. And here is a perfect completion to your sales funnel and also a way to promote your store.
The parameters which Shopzilla offers are perfectly matched with that of the products data parameters of Magento 2. Employ those parameters with Magento 2’s products to create a Product Feed because Magento 2 does not support creating feed at the moment, and we need to use Module to create one. Like Like Bizrate, the registration or upload of feed files are entirely based on Connexity site.
Countries which could use Shopzilla
- America
- British
- France
- Germany
Fields including in Shopzilla template
- Required fields
- Category ID
- Manufacturer
- Title
- Description
- Product URL
- Image URL
- SKU
- Availability
- Condition
- Price
- Optional fields
- Ship Weight
- Ship Cost
- Bid
- Promotional Code
- UPC
How to Integrate Shopzilla with Magento 2 step by step
Step 1: Register and use Shopzilla
Access account.connexity.com and sign in by your Gmail account to start using Shopzilla.
Note: After registering, you would have to wait for a few days for your account to be approved.
Step 2: The instruction on how to create a feed on Shopzilla
Because Magento does not support you to create Product Feed, in this post, we will use the Product Feed of Mageplaza to create a feed.
Steps to create a feed when using Product Feed extension: From the Admin Panel, go to Products > Catalog > Product Feed > Manage Feeds > Add New Feed
2.1. Fill in all the blanks in the General section. There are two feed update modes with Generate Config which are Manual and Cron job
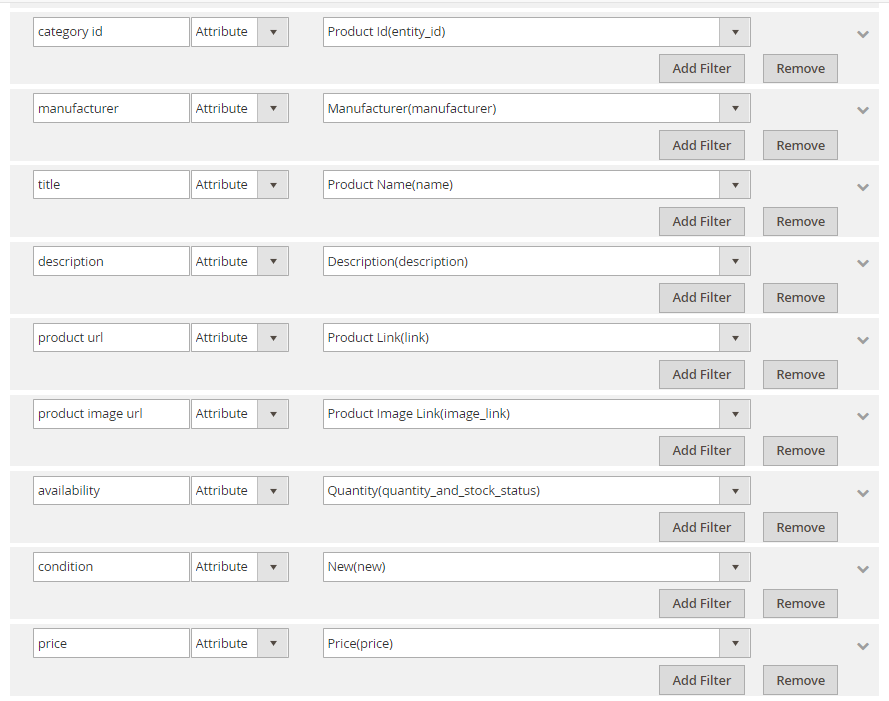
2.2. Select Shopzilla TXT as your Template
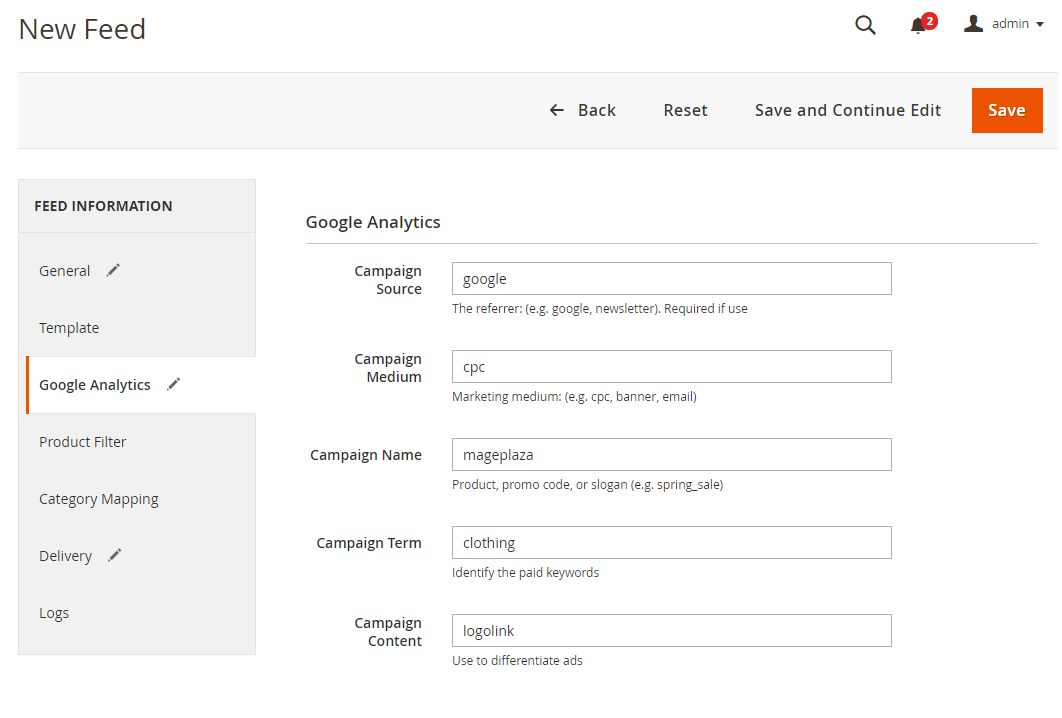
2.3. Fill in all the blanks in the Google Analytics section
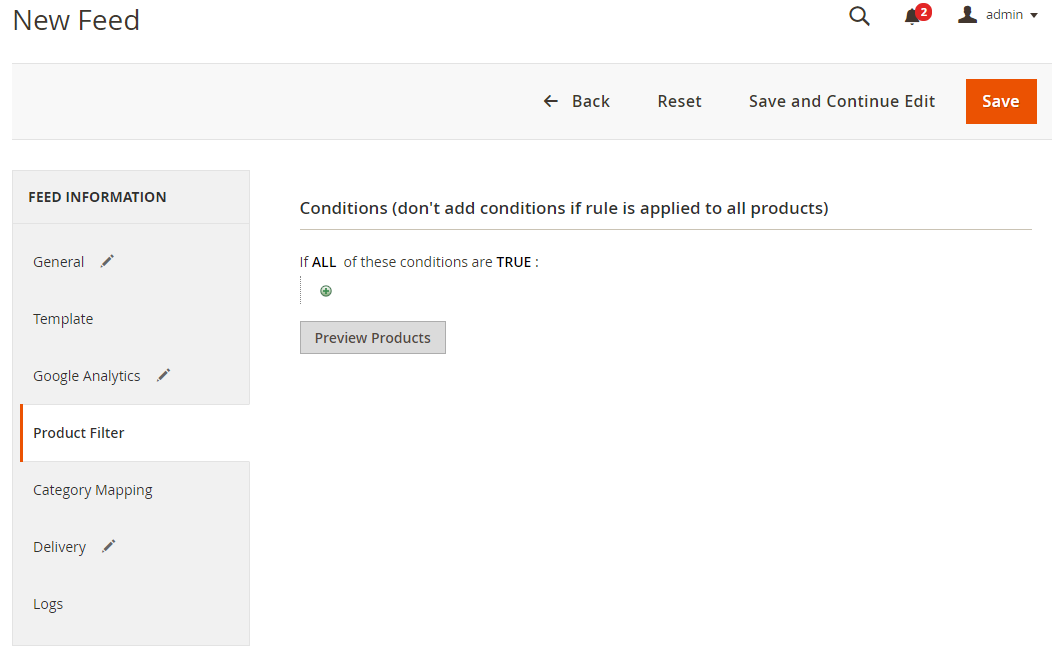
2.4. Choose the condition to export file
2.5. Set the delivery method of exported files as FTP
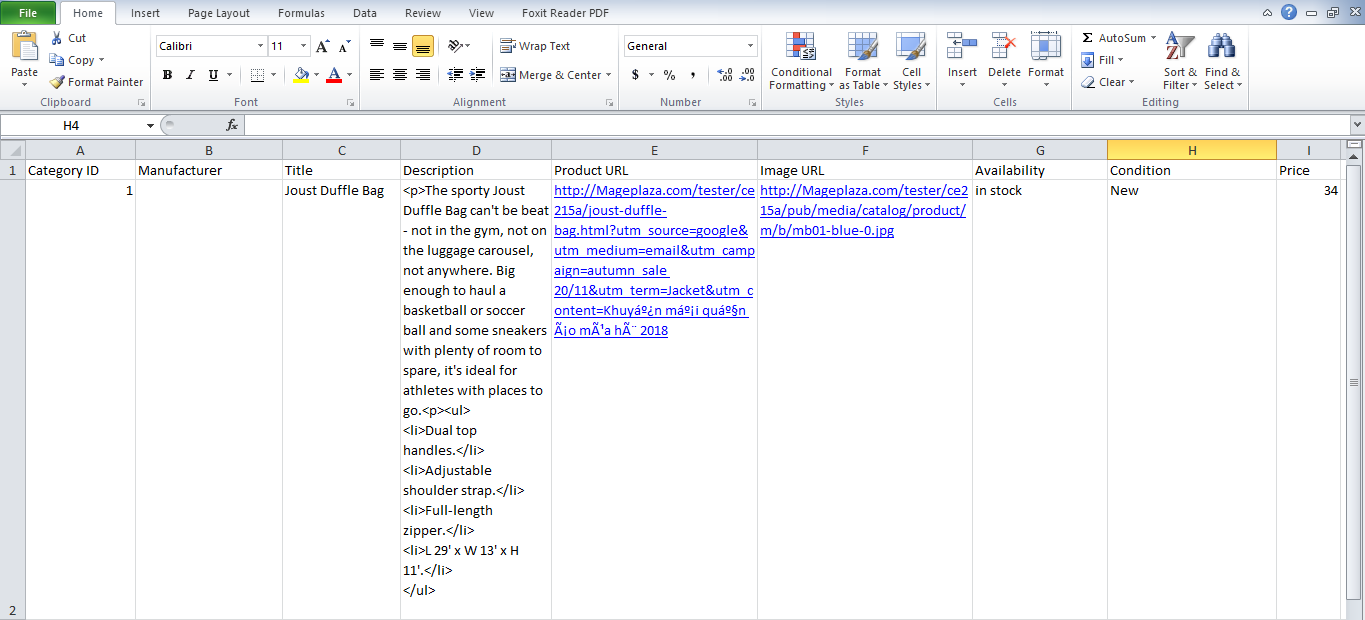
2.6. Save and then click at Generate to export file and upload it on a server. Then you can then download the exported file from the server or in Manage Feeds
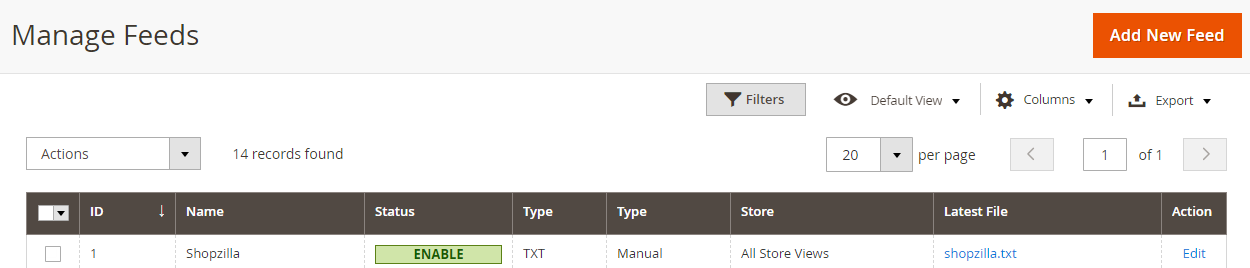
Below is the result after creating the feed using the Product Feed extension
Conclusion
In this post, we have instructed you how to create a feed on Shopzilla using Magaplaza’s Product Feed module. You can go to our website to refer more functions of Product Feed extension.
Mageplaza wishes you to have a great day at work.
Magento API Integration Service by Mageplaza
Connect your store with any 3rd-party software and boost customer experience quickly and efficiently.
Learn more
Back Ask Mageplaza