
With a big catalog of 224+ extensions for your online store
2 Steps to Configure Magento 2 Frontend
For an eCommerce website, Storefronts is the most important things when building the website. That is what customers see first when visiting your store. A store can have many Magento storefronts which include products, categories and search options. So, How To Configure Magento 2 Frontend in your store?
To configure Magento 2 Storefronts
Step 1: Build a Storefront
- Access to
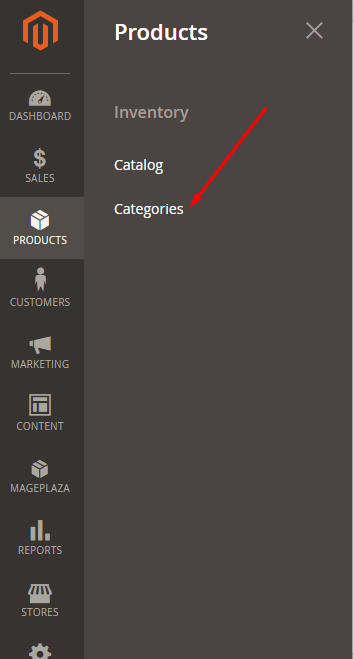
Admin sidebar, then chooseProducts>Categories. Skip to Step 6 if you want your stores to share the same catalog and products
- Select
Add Root Category
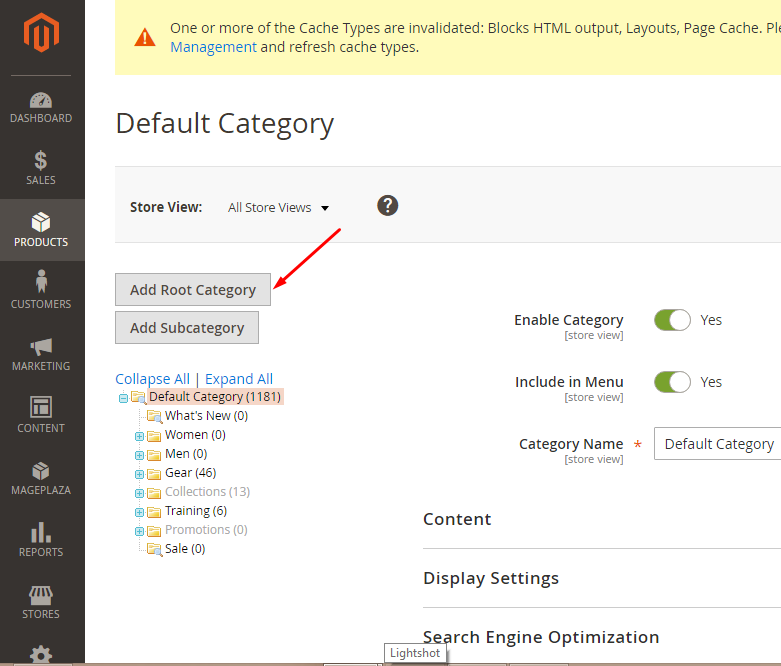
- In the
Namefield, type your new store name - In the
Is Activefield, clickYes - Expand
Display Settingsfield, chooseYesinAnchorfield. Then selectSave Category - From
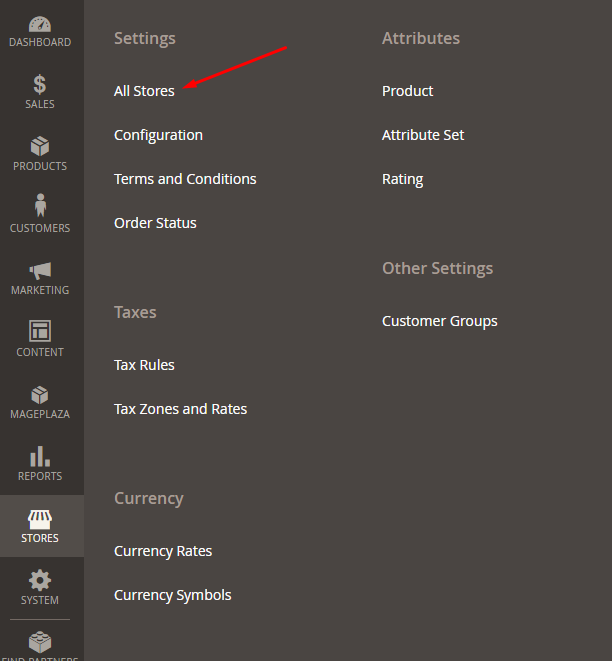
Admin sidebar, selectStores. After that, underSettingsoptions, chooseAll Stores
- Select
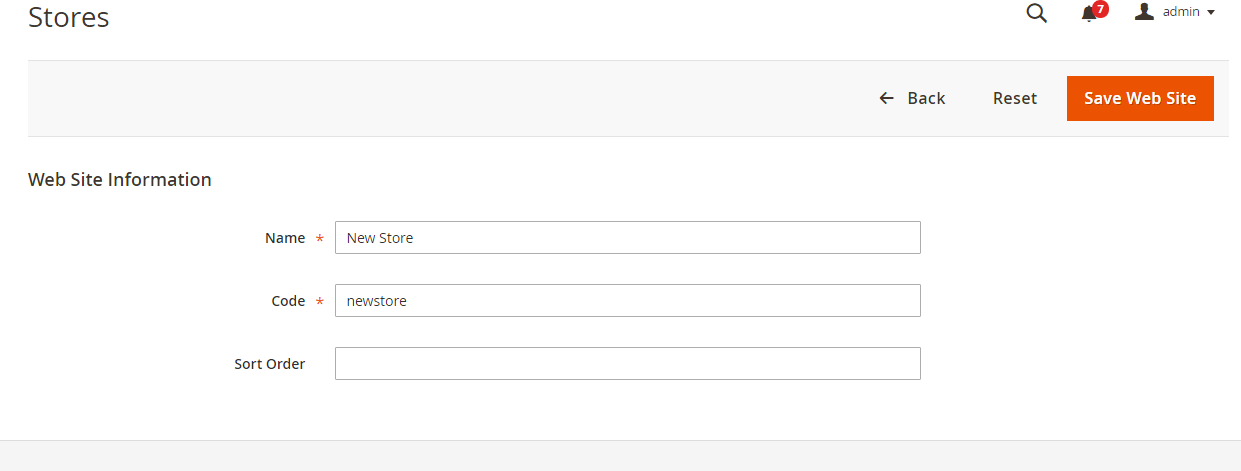
Create WebSitein the right up corner - Enter your store name in
Namefield - Enter a unique string without spaces in the
Codefield then selectSave Web site
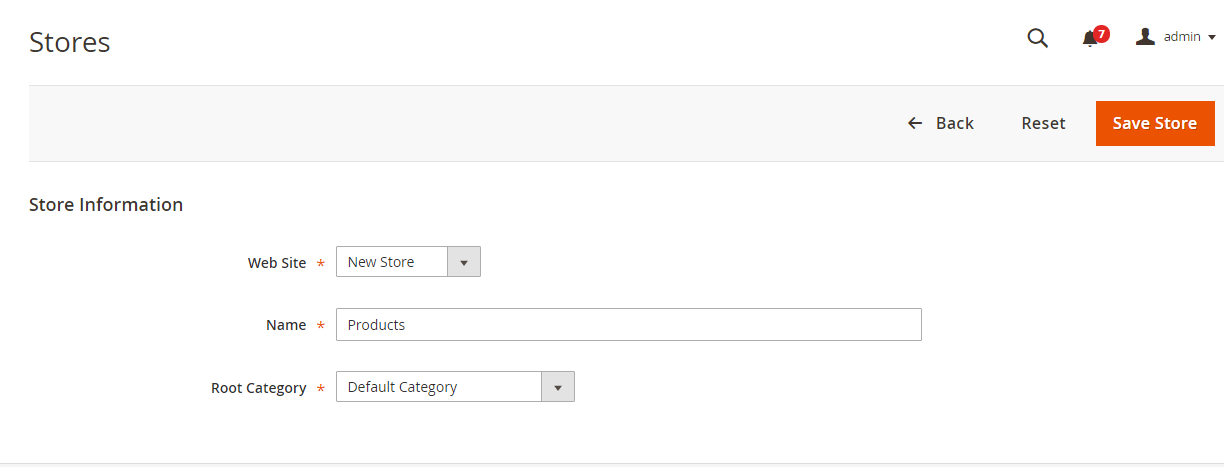
- Select
Create Store - In the
Web sitefield, choose the website that you just created - In the
Namefield, type your store’s name - In the
Root Categoryfield, choose the root category that you just created or use theDefault Root Categoryif you ignore ahead. Then selectSave Store
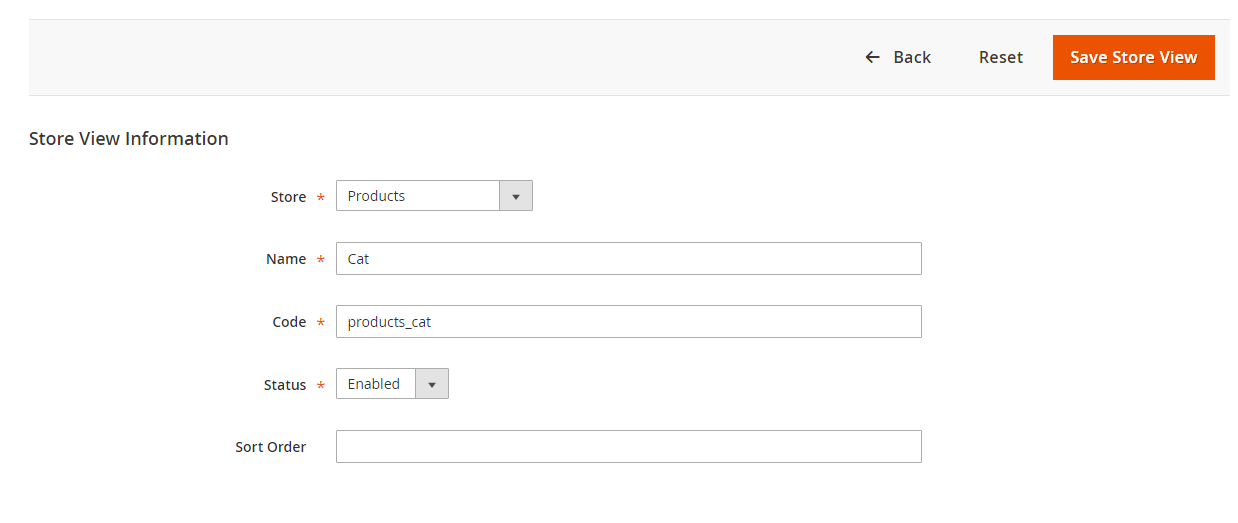
- Select
Create Store View - In the
Storefield, choose the store that you just created. - In the
Namefield, enter a name such as “Cat” - In the
Codefield, enter a string to determine the store view. - Select
EnabledinStatusfield then ClickSave Store View
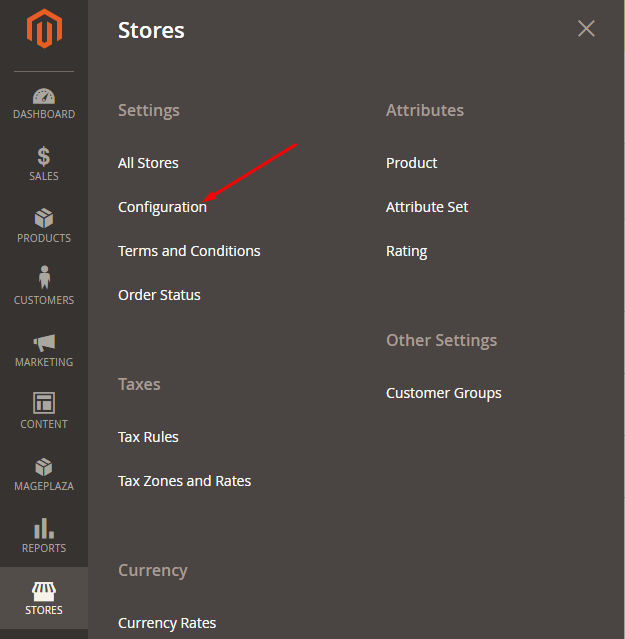
- From the
Admin sidebar, chooseStores>Configuration
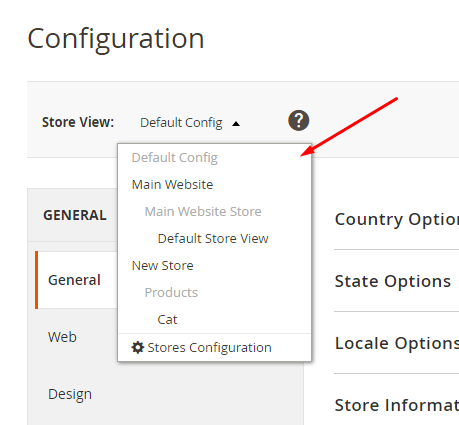
- In the
Store Viewfield, choose the website that you just built.
- In the panel on the left, choose the
Webtable option, expand theBase URLsandBase URLs(Secure)section. - In the
Base URLsfield, type your store’ URL by using one of the ways below: - Choose
Use Defaultcheck box if you want to use your main store URL - To determine a store URL that other than your main, locate the
Base URLfield, type your store URL and add the “/” at the end of the URL. - In the
Base URLs (Secure)section, do the sameBase URLs - Choose
Save Configto complete.
Related posts:
- How to create Simple Products in Magento 2
- How to create Configurable Product in Magento 2
- How to create a new category in Magento 2
Step 2: Install the server to run the Storefront
There are a lot of methods to configure the server to run the exact store but the two most popular methods:
Method 1: Specific directories for every website use subdomains
- Demonstrate the domain you want to point to the server.
- Build a subdomain for your new store.
- Using either FTP or SSH, copy the
.htaccessandindex.phpfiles from your Magento settings to the document root of your new domain - Choose the
index.phpfile that you just copied and edit the last lines of the file as below:
Notes: Convert new store to the code that you wrote down when you built the new website atop.
Replace:
$bootstrap = \Magento\Framework\App\Bootstrap::create(BP, $_SERVER);


/** @var \Magento\Framework\App\Http $app */
$app = bootstrap->createApplication('Magento\Framework\App\Http');


$bootstrap->run($app);
With:
require __DIR__ . '/app/bootstrap.php';
$params = $_SERVER;
$params[\Magento\Store\Model\StoreManager::PARAM_RUN_CODE] = 'newstore';
$params[\Magento\Store\Model\StoreManager::PARAM_RUN_TYPE] = 'website';
$bootstrap = \Magento\Framework\App\Bootstrap::create(BP, $params);
/** @var \Magento\Framework\App\Http $app */
$app = $bootstrap->createApplication('Magento\Framework\App\Http');
$bootstrap->run($app);
- Using SSH, create the represent links in the document root or your new domain and replace the path below with the full path to the document root of your Magento Installation:
ln -s /home/example/example.com/html/app/ app
ln -s /home/example/example.com/html/lib/ lib

ln -s /home/example/example.com/html/pub/ pub
ln -s /home/example/example.com/html/var/ var
- When the installation was successful, your new domain will run in your system and you can easily make the changes you want for your store
Method 2: Directories are shared for all stores using pointer domains
Notes: This method is only used for Magento version 1.4.0.1 and higher versions
- Demonstrate the domain you want to point to the server.
- Build a server alias pointer domain for your new store. The pointer domain will point to the main domain of your Magento installation.
- Edit the
.htaccessfile in the document root of your Magento settings and type the below just above the lineRewriteEngine On:- Replace
.*newstore.*with the domain name of your new store, keeping the dots and asterisks. - Determine that MAGE_RUN_CODE matches the code you wrote down when you built the new website above.
Newstorespecifies the domain name of your new store, andwebsitecodeidentifies the store code generated in Magento
- Replace
SetEnvIf Host .*newstore.* MAGE_RUN_CODE=newstore
SetEnvIf Host .*newstore.* MAGE_RUN_TYPE=website or store
- When the installation was successful, your new domain will run in your system and you can easily make the changes you want for your store.
Related posts:

Looking for
Customization & Development Services?
8+ years of experiences in e-commerce & Magento has prepared us for any challenges, so that we can lead you to your success.
Get free consultant
Recent Tutorials

Change Store Email Addresses

Fix Magento 2 'Invalid Form Key. Please refresh the page'

Magento 2 Search Settings: Default Magento vs Mageplaza AJAX Search
Explore Our Products:
People also searched for
- magento 2 frontend tutorial
- magento frontend
- magento 2 front end development tutorial
- frontend magento
- magento 2 front end
- magento 2 frontend
- magento front end
- magento2 frontend
- magento 2 front end development
- how to configure magento 2 frontend
- magento frontend tutorial
- magento active directory
- magento frontend editor
- magento front end developer tutorial
- magento front end editor
- 2.3.x, 2.4.x
Stay in the know
Get special offers on the latest news from Mageplaza.
Earn $10 in reward now!


